Introduction
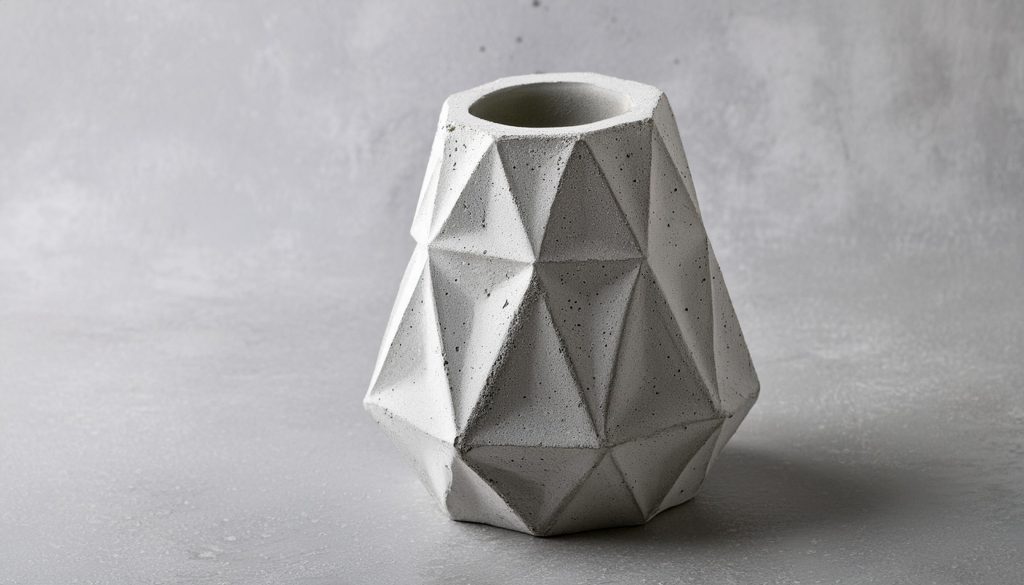
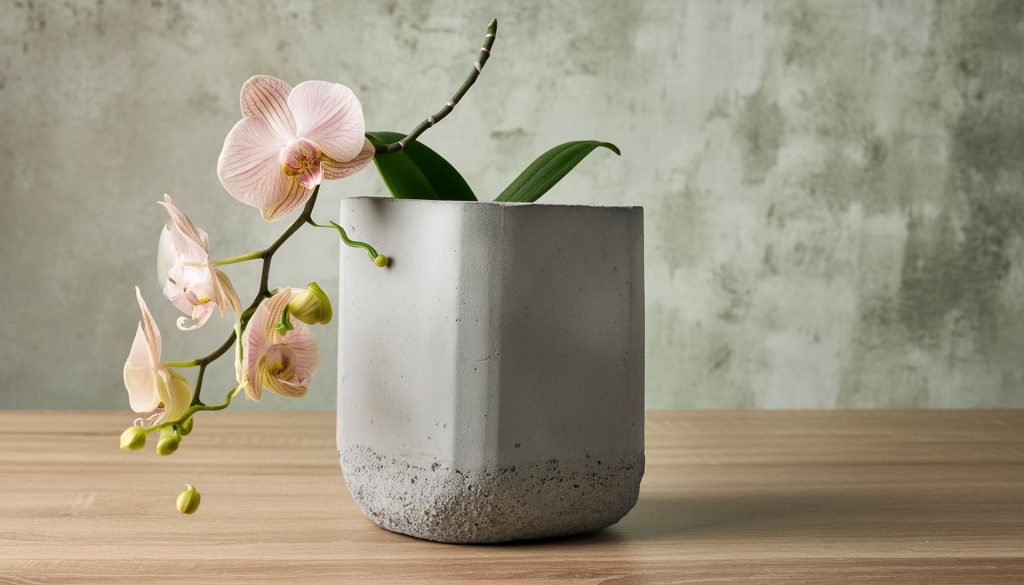
Creating stylish vases with lightweight concrete is a fun and rewarding DIY project that allows you to explore your creativity while crafting unique pieces for your home decor. Lightweight concrete, known for its durability and ease of handling, is an ideal material for making vases that are both functional and aesthetically pleasing. This versatile material offers many advantages, including being easy to shape, having a relatively quick drying time, and being strong yet light enough to handle with ease. Additionally, the tactile and visual appeal of concrete adds a modern, industrial aesthetic to any space, making your handmade vases not just functional items but also stylish decor pieces.
In this detailed guide, we’ll take you through the step-by-step process of making your own lightweight concrete vases. From gathering the necessary materials and tools to designing, mixing, and molding your creations, we will cover every aspect of the process to ensure you have a comprehensive understanding of how to work with lightweight concrete. Whether you’re a seasoned DIY enthusiast or new to the world of concrete crafting, this guide will equip you with the knowledge and confidence to create beautiful and unique vases. By the end, you’ll have crafted a personalized piece of decor that reflects your style and creativity. So, gather your supplies, put on your crafting apron, and let’s dive into this exciting project together!
Materials and Tools Needed
- Lightweight concrete mix
- Water
- Mixing bucket
- Mold release agent (e.g., vegetable oil or commercial release spray)
- Molds (silicone molds, plastic containers, or DIY molds made from cardboard and tape)
- Stirring stick or drill with mixing attachment
- Sandpaper (various grits)
- Paint or concrete sealer (optional for finishing)
- Decorative elements (e.g., paint, stencils, decals)
Designing Your Vase
Before you begin, consider the design and shape of the vase you want to create. Think about the height, width, and overall style. You can create sketches or use design software to visualize your ideas. Remember that the mold will determine the final shape of your vase, so choose or create molds that match your design vision.
Preparing the Mold
- Choose Your Mold: Select a mold that matches your desired vase shape. Silicone molds are ideal for detailed designs, while plastic containers or DIY molds made from cardboard can be used for simpler shapes.
- Apply Mold Release Agent: To ensure that the concrete easily releases from the mold once it’s cured, apply a mold release agent to the interior surfaces of the mold. This can be done using a spray-on or brush-on release agent, or even a light coating of vegetable oil.
Mixing the Lightweight Concrete
- Measure the Ingredients: Follow the manufacturer’s instructions to measure the correct proportions of lightweight concrete mix and water. Typically, you’ll need to mix one part water to three or four parts concrete mix.
- Mix Thoroughly: Combine the concrete mix and water in a bucket. Use a stirring stick or a drill with a mixing attachment to mix until you achieve a smooth, pourable consistency. Ensure there are no lumps or dry pockets in the mixture.
Pouring the Concrete into the Mold
- Fill the Mold: Carefully pour the mixed concrete into the prepared mold. Tap the sides of the mold gently to remove any air bubbles and ensure the concrete settles evenly.
- Add Inner Mold (if necessary): If your vase design includes an inner cavity, insert an inner mold (e.g., a smaller container or tube) into the center of the mold. Ensure it is centered and stable.
Curing the Concrete
- Cover and Wait: Cover the mold with plastic sheeting or a damp cloth to retain moisture and allow the concrete to cure properly. The curing time will depend on the specific concrete mix used, but it typically takes 24 to 48 hours for the concrete to set.
- Check for Hardening: After the recommended curing time, check if the concrete has hardened by gently tapping the mold. If it feels solid and firm, it’s ready to be demolded.
Demolding and Finishing Touches
- Remove the Vase from the Mold: Carefully remove the outer mold by peeling it away or cutting it open if necessary. If you used an inner mold, gently twist and pull it out.
- Smooth the Surface: Use sandpaper to smooth any rough edges or imperfections on the surface of the vase. Start with coarse-grit sandpaper and gradually move to finer grits for a smooth finish.
Decorating Your Vase
- Apply Sealer or Paint: If desired, apply a concrete sealer to enhance the appearance and durability of the vase. You can also paint the vase using acrylic or spray paints to add color and design elements.
- Add Decorative Elements: Personalize your vase by adding stencils, decals, or other decorative elements. Be creative and let your personal style shine through.

Frequently Asked Questions
1. How durable are lightweight concrete vases?
Answer: Lightweight concrete vases are quite durable, especially when properly mixed and cured. They can withstand everyday use and outdoor elements if sealed properly.
2. Can I use any type of mold for making concrete vases?
Answer: While you can use various types of molds, silicone molds are preferred for detailed designs due to their flexibility. Plastic containers and DIY molds made from cardboard are also viable options for simpler shapes.
3. How can I ensure a smooth finish on my concrete vase?
Answer: To achieve a smooth finish, make sure to tap the mold to release air bubbles during pouring and sand the surface with progressively finer grits of sandpaper after demolding.
Conclusion
Creating stylish vases with lightweight concrete is a delightful and creative project that allows you to craft personalized decor items for your home. By following this comprehensive step-by-step guide, you can design and produce unique vases that not only serve a functional purpose but also add a touch of elegance to your living space. This DIY project enables you to explore various shapes, sizes, and finishes, providing endless opportunities for customization.
Lightweight concrete is an exceptional material for crafting, offering a combination of durability, ease of use, and aesthetic appeal. Its versatility means you can create vases that fit perfectly with any decor style, whether it’s modern, industrial, rustic, or minimalist. The process of designing, mixing, pouring, and finishing your vases allows you to put your personal stamp on each piece, making them truly one-of-a-kind.
Additionally, this project is an excellent way to develop new skills and techniques in working with concrete. As you become more familiar with the properties and behaviors of lightweight concrete, you can apply this knowledge to other DIY projects, expanding your repertoire and enhancing your creative capabilities. The satisfaction of creating something beautiful and functional with your own hands is immensely rewarding and can inspire further crafting endeavors.
The finished vases can serve multiple purposes: as striking centerpieces, elegant home accents, or thoughtful handmade gifts for friends and family. By experimenting with different molds, textures, and decorative finishes, you can continuously innovate and improve your creations, keeping the process fresh and engaging.
In conclusion, making lightweight concrete vases is a project that combines creativity, practicality, and enjoyment. It’s a wonderful way to spend time, whether alone or with friends and family, and the results are pieces you can be proud of. So, take the leap into this fascinating craft, and let your imagination and skills flourish. Enjoy the process, celebrate your creativity, and cherish the beautiful vases you create. With each new project, you’ll gain more confidence and inspiration, opening up a world of possibilities in the realm of concrete crafting.

