Introduction
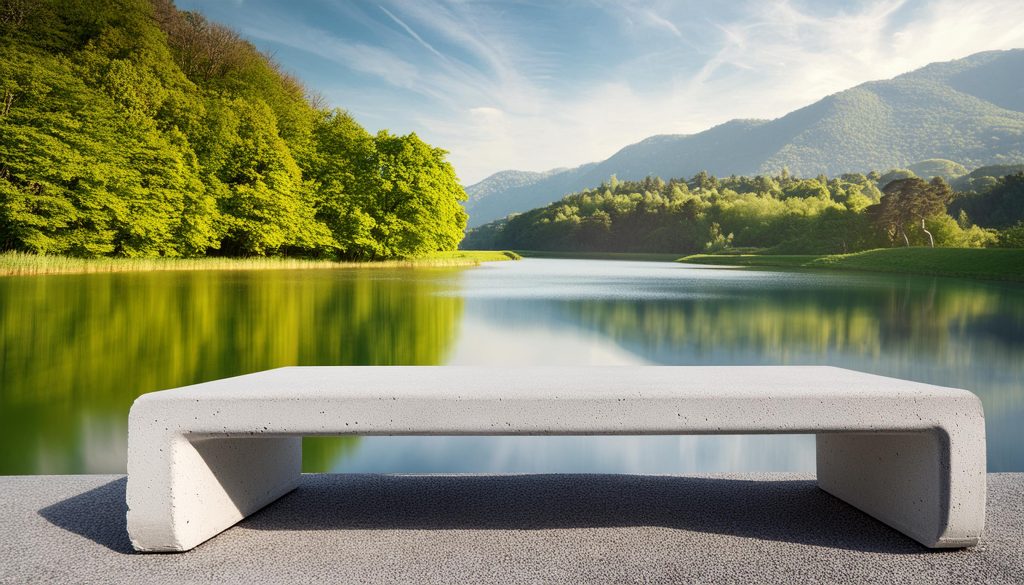
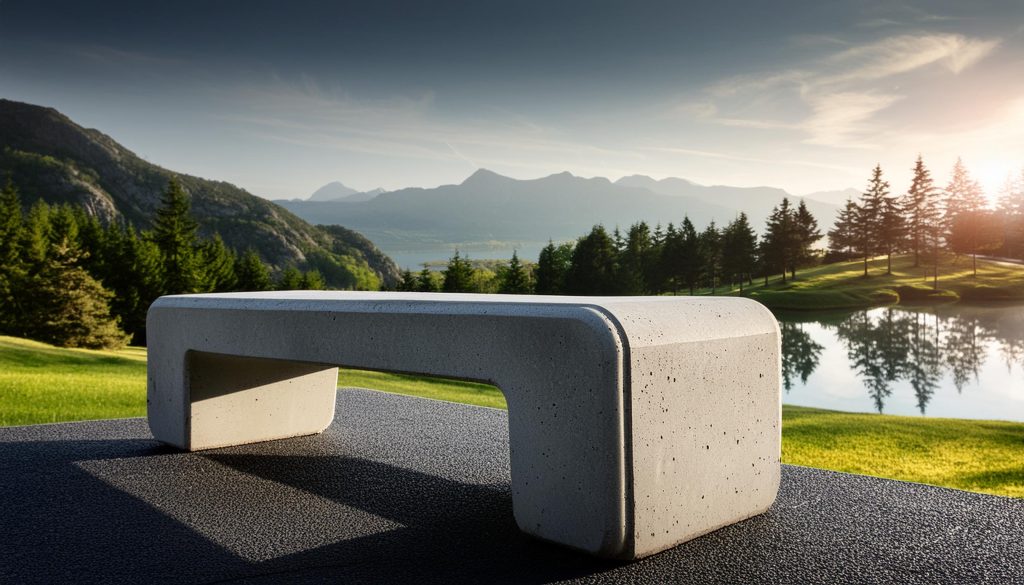
Creating a lightweight concrete bench is an ideal project for those who love combining artistry with functionality. This guide goes beyond traditional methods, offering innovative techniques to build a bench that’s not only practical but also a stunning addition to any space. Whether placed in a garden, patio, or indoor setting, a well-designed concrete bench can enhance the aesthetic and provide comfortable seating. With lightweight concrete, you gain the benefits of concrete’s durability and strength while making the construction process more manageable.
Lightweight concrete, known for its ease of use and versatility, is the perfect medium for this project. Unlike traditional concrete, which can be heavy and cumbersome, lightweight concrete provides a more manageable option that doesn’t sacrifice durability. This makes it particularly suitable for DIY enthusiasts who may not have access to heavy-duty lifting equipment. Additionally, the aesthetic possibilities with lightweight concrete are virtually endless. You can mold it into various shapes, textures, and finishes, allowing you to create a bench that truly reflects your personal style and complements your existing decor.
The process of creating a concrete bench is both an artistic and technical endeavor. It involves not only the practical aspects of mixing and pouring concrete but also the creative decisions about design, color, and finishing techniques. This project allows you to experiment with different forms and styles, from sleek modern lines to more organic, rustic shapes. You can also incorporate decorative elements such as embedded stones, tiles, or even glass pieces to add a unique touch to your bench.
Moreover, building a concrete bench is a sustainable choice. Lightweight concrete often incorporates recycled materials, reducing its environmental impact. By choosing to create your own furniture, you also minimize the need for mass-produced items, which often involve significant resource consumption and waste. This project not only provides you with a beautiful and functional piece of furniture but also aligns with eco-friendly principles.
In this comprehensive guide, we will take you through each step of the process, from the initial design and mold preparation to the final finishing touches. Whether you are an experienced DIY enthusiast or a beginner looking to try your hand at a new craft, this guide will provide you with the knowledge and confidence to create a durable, elegant concrete bench. So, gather your materials, put on your creative hat, and get ready to embark on a rewarding journey of craftsmanship and design.
Materials and Tools Needed
- Lightweight concrete mix
- Water
- Mixing bucket
- Electric mixer or drill with a mixing attachment
- Mold release agent
- Mold (using unique materials like silicone, flexible plastic, or reusable forms)
- Pigments for concrete coloring
- Reinforcement mesh or fibers (optional)
- Sandpaper (various grits)
- Concrete sealer
- Artistic legs or supports (metal, wood, or custom concrete)
- Screws and screwdriver
- Measuring tape
- Level
- Protective gear (gloves, mask, goggles)
Conceptualizing Your Design
- Visual Inspiration: Browse through design magazines, online platforms like Pinterest, or visit local parks to gather ideas for your bench design. Think about the style – modern, rustic, industrial, or artistic.
- Sketching Ideas: Draw multiple sketches, exploring various shapes, contours, and features. Consider adding curves, intricate patterns, or even embedding decorative elements like stones or tiles.
- Functionality and Aesthetics: Balance the aesthetic appeal with practicality. Ensure your design provides comfortable seating and blends well with the intended environment.
Innovative Mold Preparation Techniques
- Material Selection: Choose mold materials that allow flexibility and reusability. Silicone and flexible plastics are excellent for creating intricate designs and smooth finishes.
- Custom Mold Creation: If you’re looking for a truly unique shape, consider making your own mold using 3D printing or carving out foam. Ensure the mold is sturdy enough to hold the concrete without deforming.
- Release Agent Application: Apply a mold release agent evenly to ensure easy demolding. Silicone molds might need less release agent compared to rigid molds.
Advanced Concrete Mixing and Coloring
- Proportioning Ingredients: Accurately measure the lightweight concrete mix and water according to the manufacturer’s instructions.
- Mixing: Use an electric mixer or a drill with a mixing attachment for a consistent mixture. Aim for a smooth, lump-free consistency.
- Adding Pigments: Introduce pigments during the mixing process to achieve the desired color. Experiment with different shades and even consider marble effects by partially mixing multiple colors.
Unique Pouring Methods
- Layering Technique: Pour the concrete into layers, allowing each layer to set slightly before adding the next. This method can create interesting striations and patterns.
- Embedded Designs: While pouring, embed decorative elements like pebbles, glass pieces, or metal accents. These additions can create a unique texture and visual interest.
- Vibration and Tapping: Gently tap the mold or use a vibrating tool to remove air bubbles and ensure a smooth surface.
Creative Curing Techniques
- Controlled Environment: Cure the concrete in a controlled environment to prevent rapid drying. Use plastic sheeting to cover the mold and maintain moisture levels.
- Moist Curing: Regularly mist the concrete surface with water during the curing period to enhance strength and durability. This technique helps prevent cracking.
Demolding and Artistic Finishing
- Careful Demolding: Gently remove the mold without rushing to avoid damaging the concrete. Use a rubber mallet if necessary to help loosen the mold.
- Surface Smoothing: Sand the surface with various grits of sandpaper, starting with coarse grit and progressing to finer grits for a polished finish.
- Artistic Touches: Add artistic touches such as engraving designs, applying stains, or creating a faux finish to give the bench a customized look.
Sealing and Long-term Protection
- Applying Sealer: Use a high-quality concrete sealer to protect the bench from moisture, stains, and wear. Apply multiple coats for better protection.
- Maintenance Tips: Periodically reseal the bench to maintain its appearance and durability. Clean the surface regularly to prevent the buildup of dirt and grime.
Attaching Artistic Legs and Supports of Bench
- Choosing Supports: Select legs or supports that complement the design of the bench. Consider materials like metal, wood, or even custom-cast concrete legs.
- Secure Attachment: Attach the legs or supports securely using screws and ensure they are evenly spaced and level. Use decorative bolts or brackets to add a stylish touch.
- Finishing Touches: Add non-slip pads or adjustable feet to the supports to enhance stability and prevent damage to floors.

Frequently Asked Questions
1. Can I use lightweight concrete for outdoor benches?
Answer: Yes, lightweight concrete is suitable for outdoor use. Ensure you seal the bench properly to protect it from weather elements and maintain its durability.
2. How can I make the bench more comfortable?
Answer: Consider adding cushions or using ergonomic designs that follow the natural contours of the body. Adding armrests and backrests can also enhance comfort.
3. Is it possible to repair cracks in a concrete bench?
Answer: Minor cracks can be repaired using concrete patching products. For larger cracks, you might need to apply a concrete filler and sand it down to blend with the surrounding area.
Conclusion
Building an elegant bench from lightweight concrete offers a perfect blend of creativity, innovation, and practicality. By exploring new techniques and materials, you can craft a piece that stands out for its beauty and functionality. Lightweight concrete allows for ease of handling without compromising on strength, making it an ideal choice for DIY furniture projects.
Embrace the process of creating your bench, from conceptualizing unique designs to applying artistic finishes. Each step offers an opportunity to add your personal touch and achieve a truly customized piece. Whether used indoors or outdoors, your concrete bench will serve as a testament to your creativity and craftsmanship, providing both comfort and aesthetic appeal.
In conclusion, this guide has shown you innovative ways to approach building a lightweight concrete bench. Enjoy the journey of creation, and take pride in the stunning piece you will have crafted with your own hands.
