Introduction
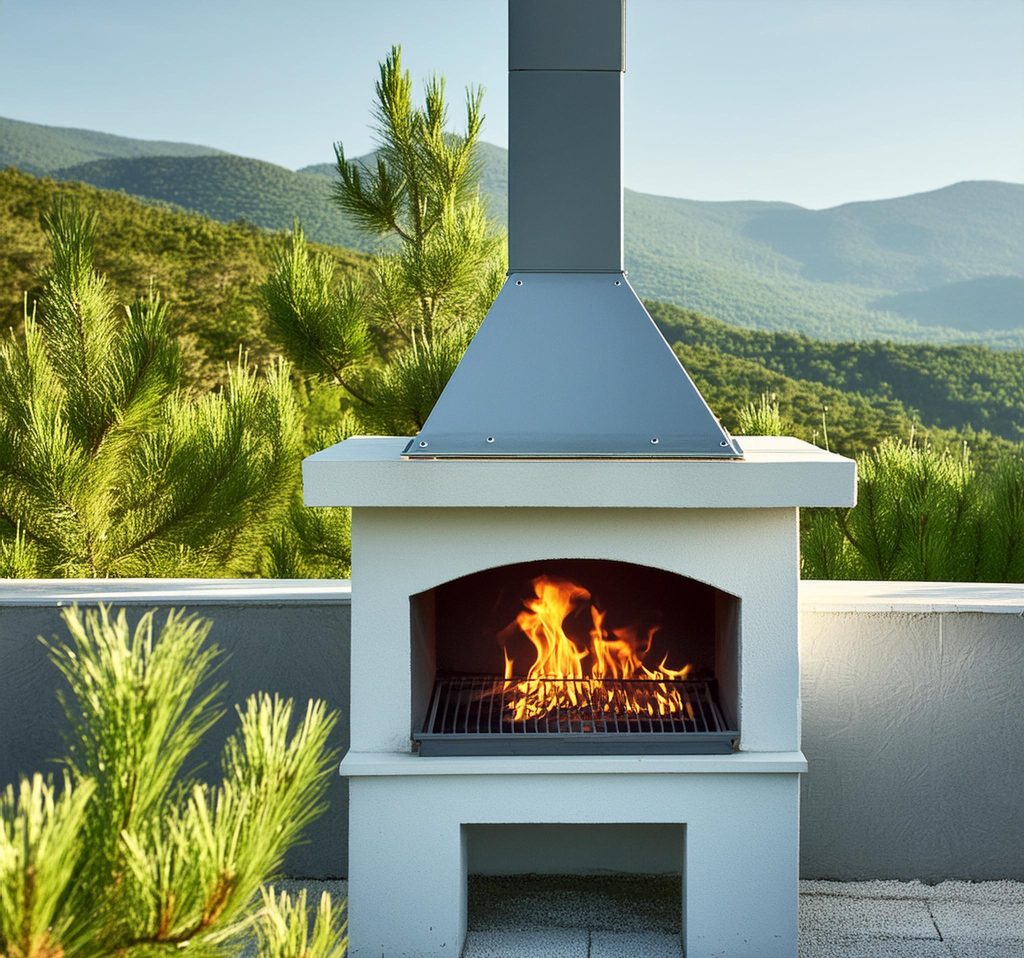
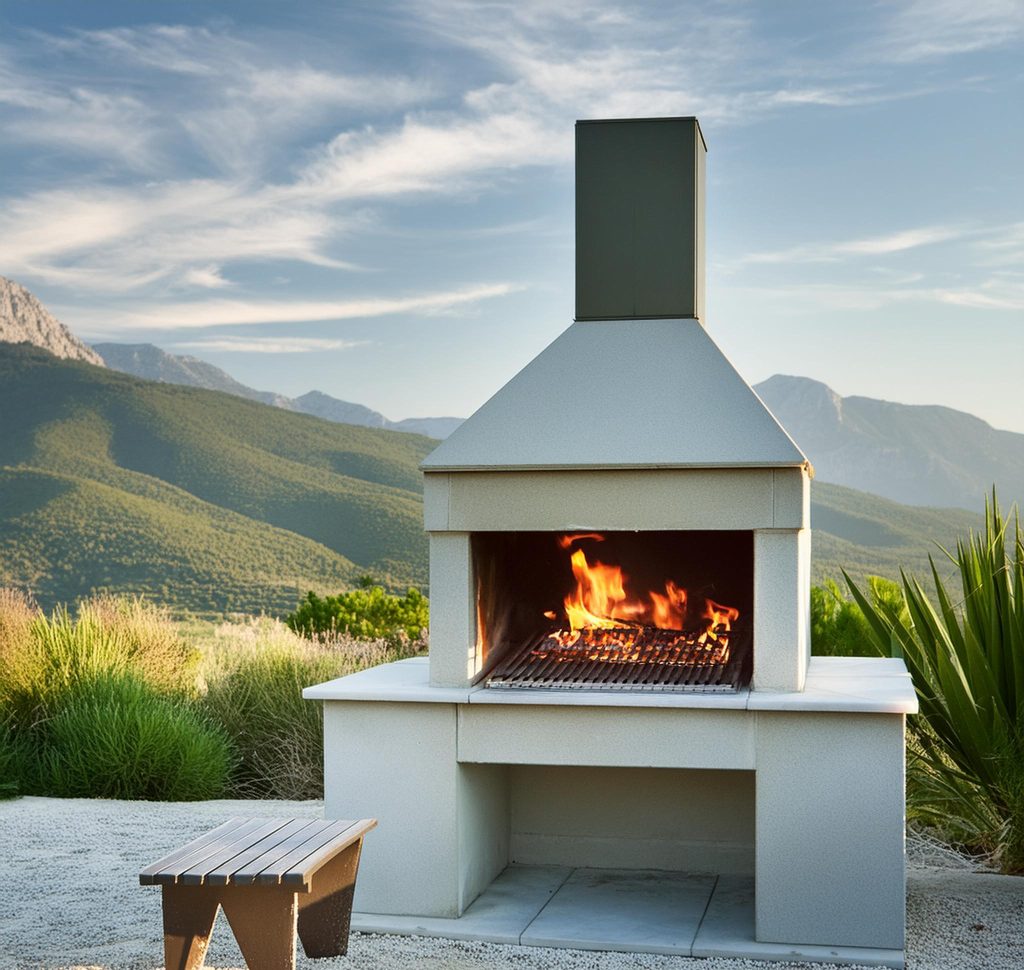
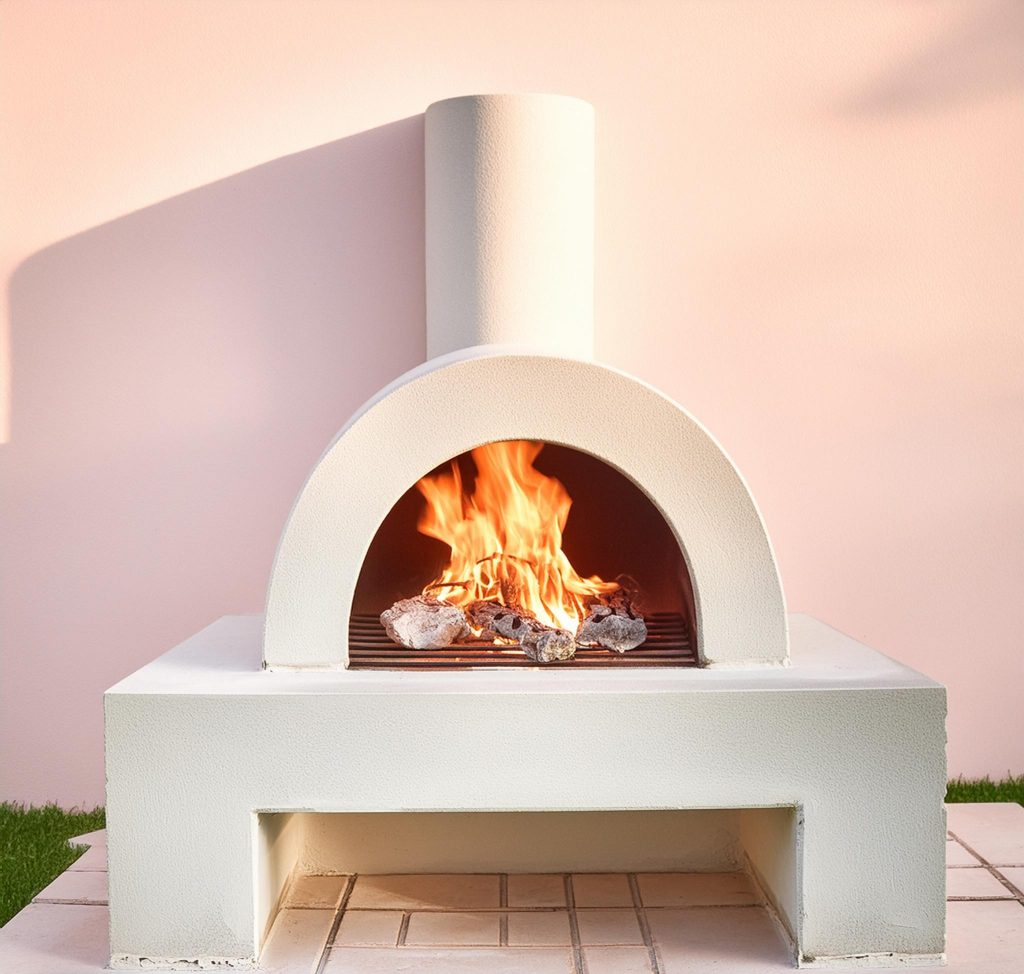
An outdoor BBQ grill is a staple for social gatherings, family get-togethers, and community events. When placed in public parks, these grills become central to outdoor fun, encouraging people to cook, eat, and enjoy the fresh air. Constructing these grills with lightweight concrete offers numerous benefits, from durability to ease of maintenance. This blog will delve into the advantages of lightweight concrete BBQ grills, design considerations, construction steps, and the overall impact on community spaces.
Public parks are cherished spaces where people come together to relax, play, and create lasting memories. One feature that significantly enhances the utility and appeal of these parks is the outdoor BBQ grill. Constructed with durable and robust materials, these grills provide a reliable facility for cooking outdoors. Lightweight concrete is an excellent material choice for building these BBQ grills due to its strength, versatility, and aesthetic appeal. In this comprehensive guide, we will explore how to build a durable and functional BBQ grill using lightweight concrete, ensuring it serves the community for years to come.
Benefits of Lightweight Concrete BBQ Grills
Durability: Lightweight concrete is incredibly durable, resistant to weather conditions, and can withstand high temperatures, making it perfect for BBQ grills exposed to outdoor elements.
Low Maintenance: These grills require minimal maintenance. Unlike metal grills that may rust or wooden ones that can deteriorate, concrete grills remain in good condition with little effort.
Aesthetic Appeal: Concrete can be molded and finished in various styles to match the park’s design. It can also be painted or stained to enhance its appearance.
Eco-Friendly: Using lightweight concrete, which often contains recycled materials, is an environmentally friendly option.
Safety: Concrete grills are stable and less likely to tip over compared to portable metal grills, providing a safer option for public spaces.
Design Considerations for Public BBQ Grills
Location: Choose a location that is easily accessible but safely distanced from playgrounds, sports fields, and other areas where people gather. Ensure there’s enough space around the grill for people to cook comfortably.
Ventilation: Proper ventilation is crucial. Incorporate vents in the design to allow for efficient air circulation, ensuring the fire burns evenly and reduces smoke buildup.
Height and Size: The grill should be at a comfortable height for standing adults to use without bending over too much. The size of the grill surface should accommodate multiple users if needed.
Fuel Type: Decide whether the grill will use charcoal, wood, or gas. Each fuel type has different design requirements, such as space for charcoal storage or a connection for a gas line.
Safety Features: Incorporate features like heat-resistant handles, ash disposal areas, and stable, sturdy construction to enhance user safety.
Drainage: Ensure there’s a system for rainwater drainage to prevent water accumulation and damage to the grill structure.

Materials and Tools Needed
Materials:
- Lightweight concrete mix
- Water
- Reinforcement materials (rebar or wire mesh)
- Molding materials (plywood, plastic, or metal for forms)
- Heat-resistant bricks or metal grates
- Concrete sealant
Tools:
- Concrete mixer or mixing container
- Measuring tape
- Level
- Trowel or spatula
- Drill
- Saw (for cutting molding materials)
- Safety gear (gloves, goggles)
Step-by-Step Guide to Building a Lightweight Concrete BBQ Grill
1. Design and Plan:
- Draw a detailed plan of the BBQ grill, including dimensions, ventilation, and additional features. Decide on the type of fuel the grill will use.
2. Prepare the Site:
- Clear the area where the grill will be built. Ensure the ground is level and stable.
3. Build the Mold:
- Construct a mold for the grill using plywood or other suitable materials. The mold will shape the concrete into the desired form.
- Apply a release agent inside the mold to prevent the concrete from sticking.
4. Mix the Concrete:
- Follow the instructions on the lightweight concrete mix. Combine the mix with water in a concrete mixer or large container.
- Stir the mixture until it reaches a smooth, lump-free consistency.
5. Pour the Concrete:
- Pour the mixed concrete into the mold, filling it to the required height.
- Use a trowel to spread and smooth the surface, ensuring the concrete is evenly distributed.
- Insert reinforcement materials (rebar or wire mesh) for added strength.
6. Insert the Grill Grates:
- Before the concrete sets, place the heat-resistant bricks or metal grates into the mold at the desired height for the grilling surface.
7. Allow the Concrete to Set:
- Let the concrete cure for the recommended time, usually 24-48 hours. Keep the concrete moist during the curing process to prevent cracking.
8. Remove the Mold:
- Once the concrete has been set, carefully remove the mold. Use sandpaper or a concrete file to smooth any rough edges.
9. Finishing Touches:
- Apply a concrete sealant to protect the grill from moisture and stains.
- Add any additional features like ash disposal areas or heat-resistant handles.
Maintenance and Safety Tips
Regular Cleaning: Clean the grill grates and surface regularly to prevent buildup of grease and food particles. Use a brush and mild detergent for best results.
Inspect for Damage: Periodically check the structure for cracks or other damage. Address any issues promptly to maintain the integrity of the grill.
Fire Safety: Always ensure the fire is completely extinguished after use. Provide water or sand nearby to quickly douse any flames if needed.
User Instructions: Post clear instructions on how to use the grill safely. Include guidelines on proper fire management and cleanup.
Ventilation Check: Regularly check the ventilation system to ensure it’s not blocked and is functioning properly.
Frequently Asked Questions
1. Can lightweight concrete withstand the high temperatures of a BBQ grill?
- Yes, lightweight concrete can withstand high temperatures, especially when combined with heat-resistant bricks or metal grates for the grilling surface. It’s a durable material that remains stable under the heat generated by a BBQ.
2. How do I maintain a lightweight concrete BBQ grill?
- Maintenance is straightforward: clean the grill grates regularly, inspect the structure for any cracks or damage, and ensure proper ventilation. Applying a concrete sealant periodically can also help protect the grill.
3. Is a lightweight concrete BBQ grill safe to use in public parks?
- Yes, when properly constructed and maintained, lightweight concrete BBQ grills are safe for public use. They are sturdy, durable, and less likely to tip over compared to portable grills. Ensure safety features such as heat-resistant handles and proper ventilation are included in the design.
Conclusion
Building a lightweight concrete BBQ grill for public parks is a practical and aesthetically pleasing solution that enhances communal outdoor spaces. The durability, low maintenance, and safety features of lightweight concrete make it an ideal material for constructing these grills. By following the steps outlined in this guide, you can create a BBQ grill that will serve the community for years to come, providing a focal point for gatherings and celebrations. Whether for a small local park or a large public area, a well-designed and constructed lightweight concrete BBQ grill is an invaluable addition that promotes outdoor cooking and social interaction.

