Introduction
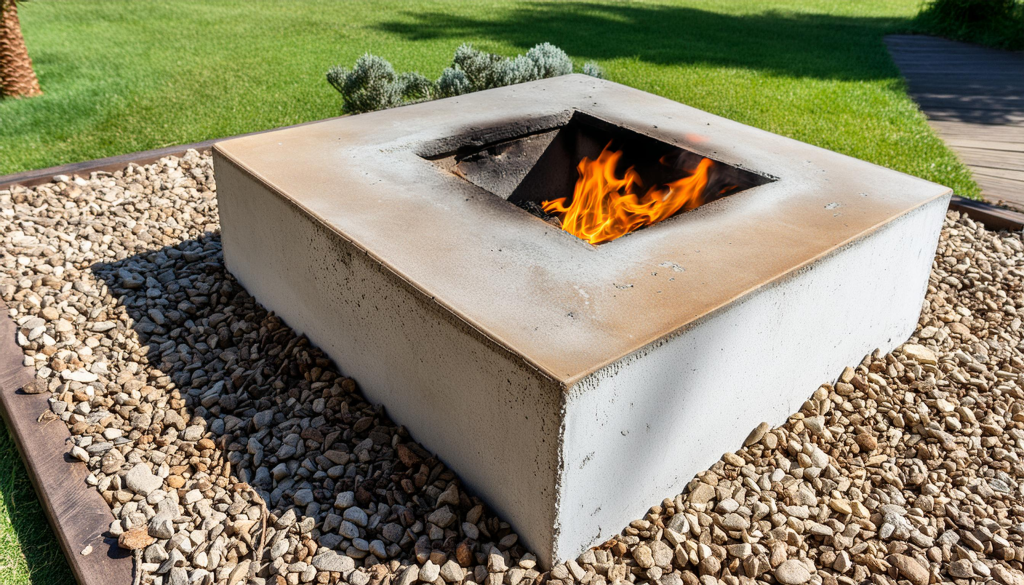
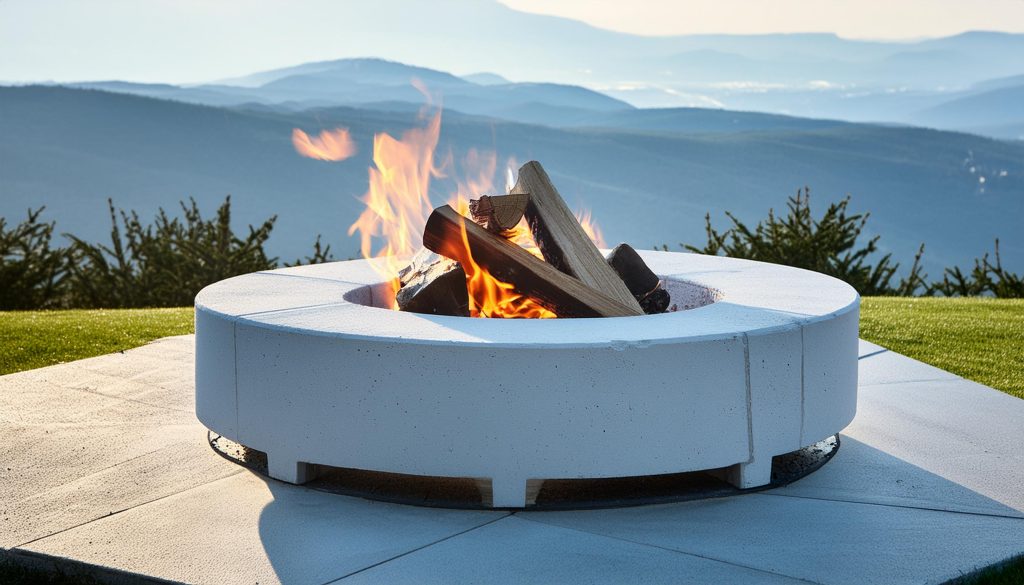
Crafting a rustic fire pit with lightweight concrete is a rewarding DIY project that can enhance your outdoor living space. Whether you’re looking to create a focal point for social gatherings or a cozy spot for relaxation, a lightweight concrete fire pit offers the perfect blend of durability and aesthetic appeal. In this step-by-step guide, we’ll cover everything you need to know to build a stunning fire pit that will withstand the elements and provide warmth and ambiance for years to come. From selecting materials to adding the final touches, this guide will ensure you have all the knowledge and confidence needed to complete your project successfully.
Materials and Tools Needed
- Lightweight concrete mix
- Water
- Mixing bucket
- Stirring stick or drill with mixing attachment
- Mold release agent (e.g., vegetable oil or commercial release spray)
- Mold (made from plywood, plastic, or metal)
- Reinforcement mesh or rebar (optional)
- Sandpaper (various grits)
- Concrete sealer
- Heat-resistant paint or stain (optional)
- Decorative stones or tiles (optional)
- Shovel
- Level
- Trowel
Designing Your Fire Pit
Begin by planning the design of your fire pit. Consider the dimensions, shape, and style that will best fit your outdoor space. Common shapes include circular, square, and rectangular designs. Sketch your ideas or use design software to visualize the final product. Decide on additional features, such as built-in seating or a decorative border, and ensure your design complies with any local regulations or safety guidelines.
Preparing the Mold
- Choose Your Mold Material: Use durable materials like plywood, plastic, or metal to construct the mold. Ensure the mold can withstand the weight and pressure of the concrete.
- Assemble the Mold: Cut the materials to the desired dimensions and assemble them using screws or adhesive. Ensure all joints are secure and sealed to prevent concrete leakage.
- Apply Mold Release Agent: Coat the interior surfaces of the mold with a mold release agent to facilitate easy removal once the concrete has cured.
Mixing the Lightweight Concrete
- Measure the Ingredients: Follow the manufacturer’s instructions to measure the correct proportions of lightweight concrete mix and water.
- Mix Thoroughly: Combine the concrete mix and water in a mixing bucket. Use a stirring stick or a drill with a mixing attachment to mix until you achieve a smooth, pourable consistency. Ensure there are no lumps.
Pouring the Concrete
- Fill the Mold: Carefully pour the mixed concrete into the prepared mold. Use a trowel to spread the concrete evenly and eliminate any air bubbles.
- Add Reinforcement (Optional): For additional strength, place a reinforcement mesh or rebar in the middle of the poured concrete and ensure it is fully covered.
Curing the Concrete
- Cover and Wait: Cover the mold with plastic sheeting or a damp cloth to retain moisture and allow the concrete to cure properly. The curing time typically ranges from 24 to 48 hours.
- Check for Hardening: After the recommended curing time, check if the concrete has hardened by gently tapping the mold. If it feels solid and firm, it’s ready to be demolded.
Demolding and Finishing
- Remove the Fire Pit from the Mold: Carefully disassemble the mold and remove the concrete fire pit. If necessary, use a rubber mallet to gently tap and loosen the mold.
- Smooth the Surface: Use sandpaper to smooth any rough edges or imperfections on the concrete surface. Start with coarse-grit sandpaper and progress to finer grits for a polished finish.
Sealing and Protecting the Surface
- Apply a Concrete Sealer: To protect your fire pit from stains and moisture, apply a concrete sealer. Follow the manufacturer’s instructions for the best results.
- Optional Finishes: If desired, you can use heat-resistant paint or stain to customize the color and appearance of your fire pit. Ensure the surface is clean and dry before applying any finishes.
Adding Decorative Elements
- Choose Your Decorations: Select decorative stones, tiles, or other elements to enhance the appearance of your fire pit.
- Attach Decorations: Use heat-resistant adhesive to secure decorative stones or tiles to the surface of the fire pit. Arrange them in a pattern that complements your overall design.
- Additional Features: Consider adding built-in seating, a fire pit cover, or other accessories to complete your outdoor setup.

Frequently Asked Questions
1. Is lightweight concrete fire-resistant?
Answer: Lightweight concrete is generally more fire-resistant than traditional concrete due to its composition. However, it’s important to ensure the concrete mix and any additives used are suitable for high-heat applications.
2. Can I use my lightweight concrete fire pit on a wooden deck?
Answer: It’s not recommended to place a fire pit directly on a wooden deck due to the risk of fire damage. Instead, use a fire-resistant pad or build a dedicated fire pit area with proper ventilation and heat protection.
3. How do I maintain my concrete fire pit?
Answer: Regularly clean the fire pit by removing ash and debris after each use. Periodically inspect for cracks or damage and reseal the surface as needed to maintain its durability and appearance.
Conclusion
Building a rustic fire pit with lightweight concrete is an enriching project that enhances your outdoor living space with a blend of functionality and aesthetic appeal. This guide provides you with the necessary steps to design, construct, and finish a durable and stylish fire pit. Lightweight concrete’s ease of use and durability make it an excellent choice for this type of project.
By following this guide, you can create a personalized fire pit that reflects your style and meets your outdoor entertaining needs. The process of crafting your fire pit allows you to explore your creativity, learn new skills, and enjoy the satisfaction of completing a DIY project. Once finished, your fire pit will become a centerpiece for gatherings, offering warmth and a cozy atmosphere for family and friends.
In conclusion, building a lightweight concrete fire pit is not just about creating a functional piece; it’s about the joy of creation and the pride in your handiwork. Embrace the process, from designing and mixing to curing and finishing, knowing that each step brings you closer to a unique and durable addition to your home. Enjoy your new fire pit and the many memorable moments it will facilitate in your outdoor space.
