Introduction
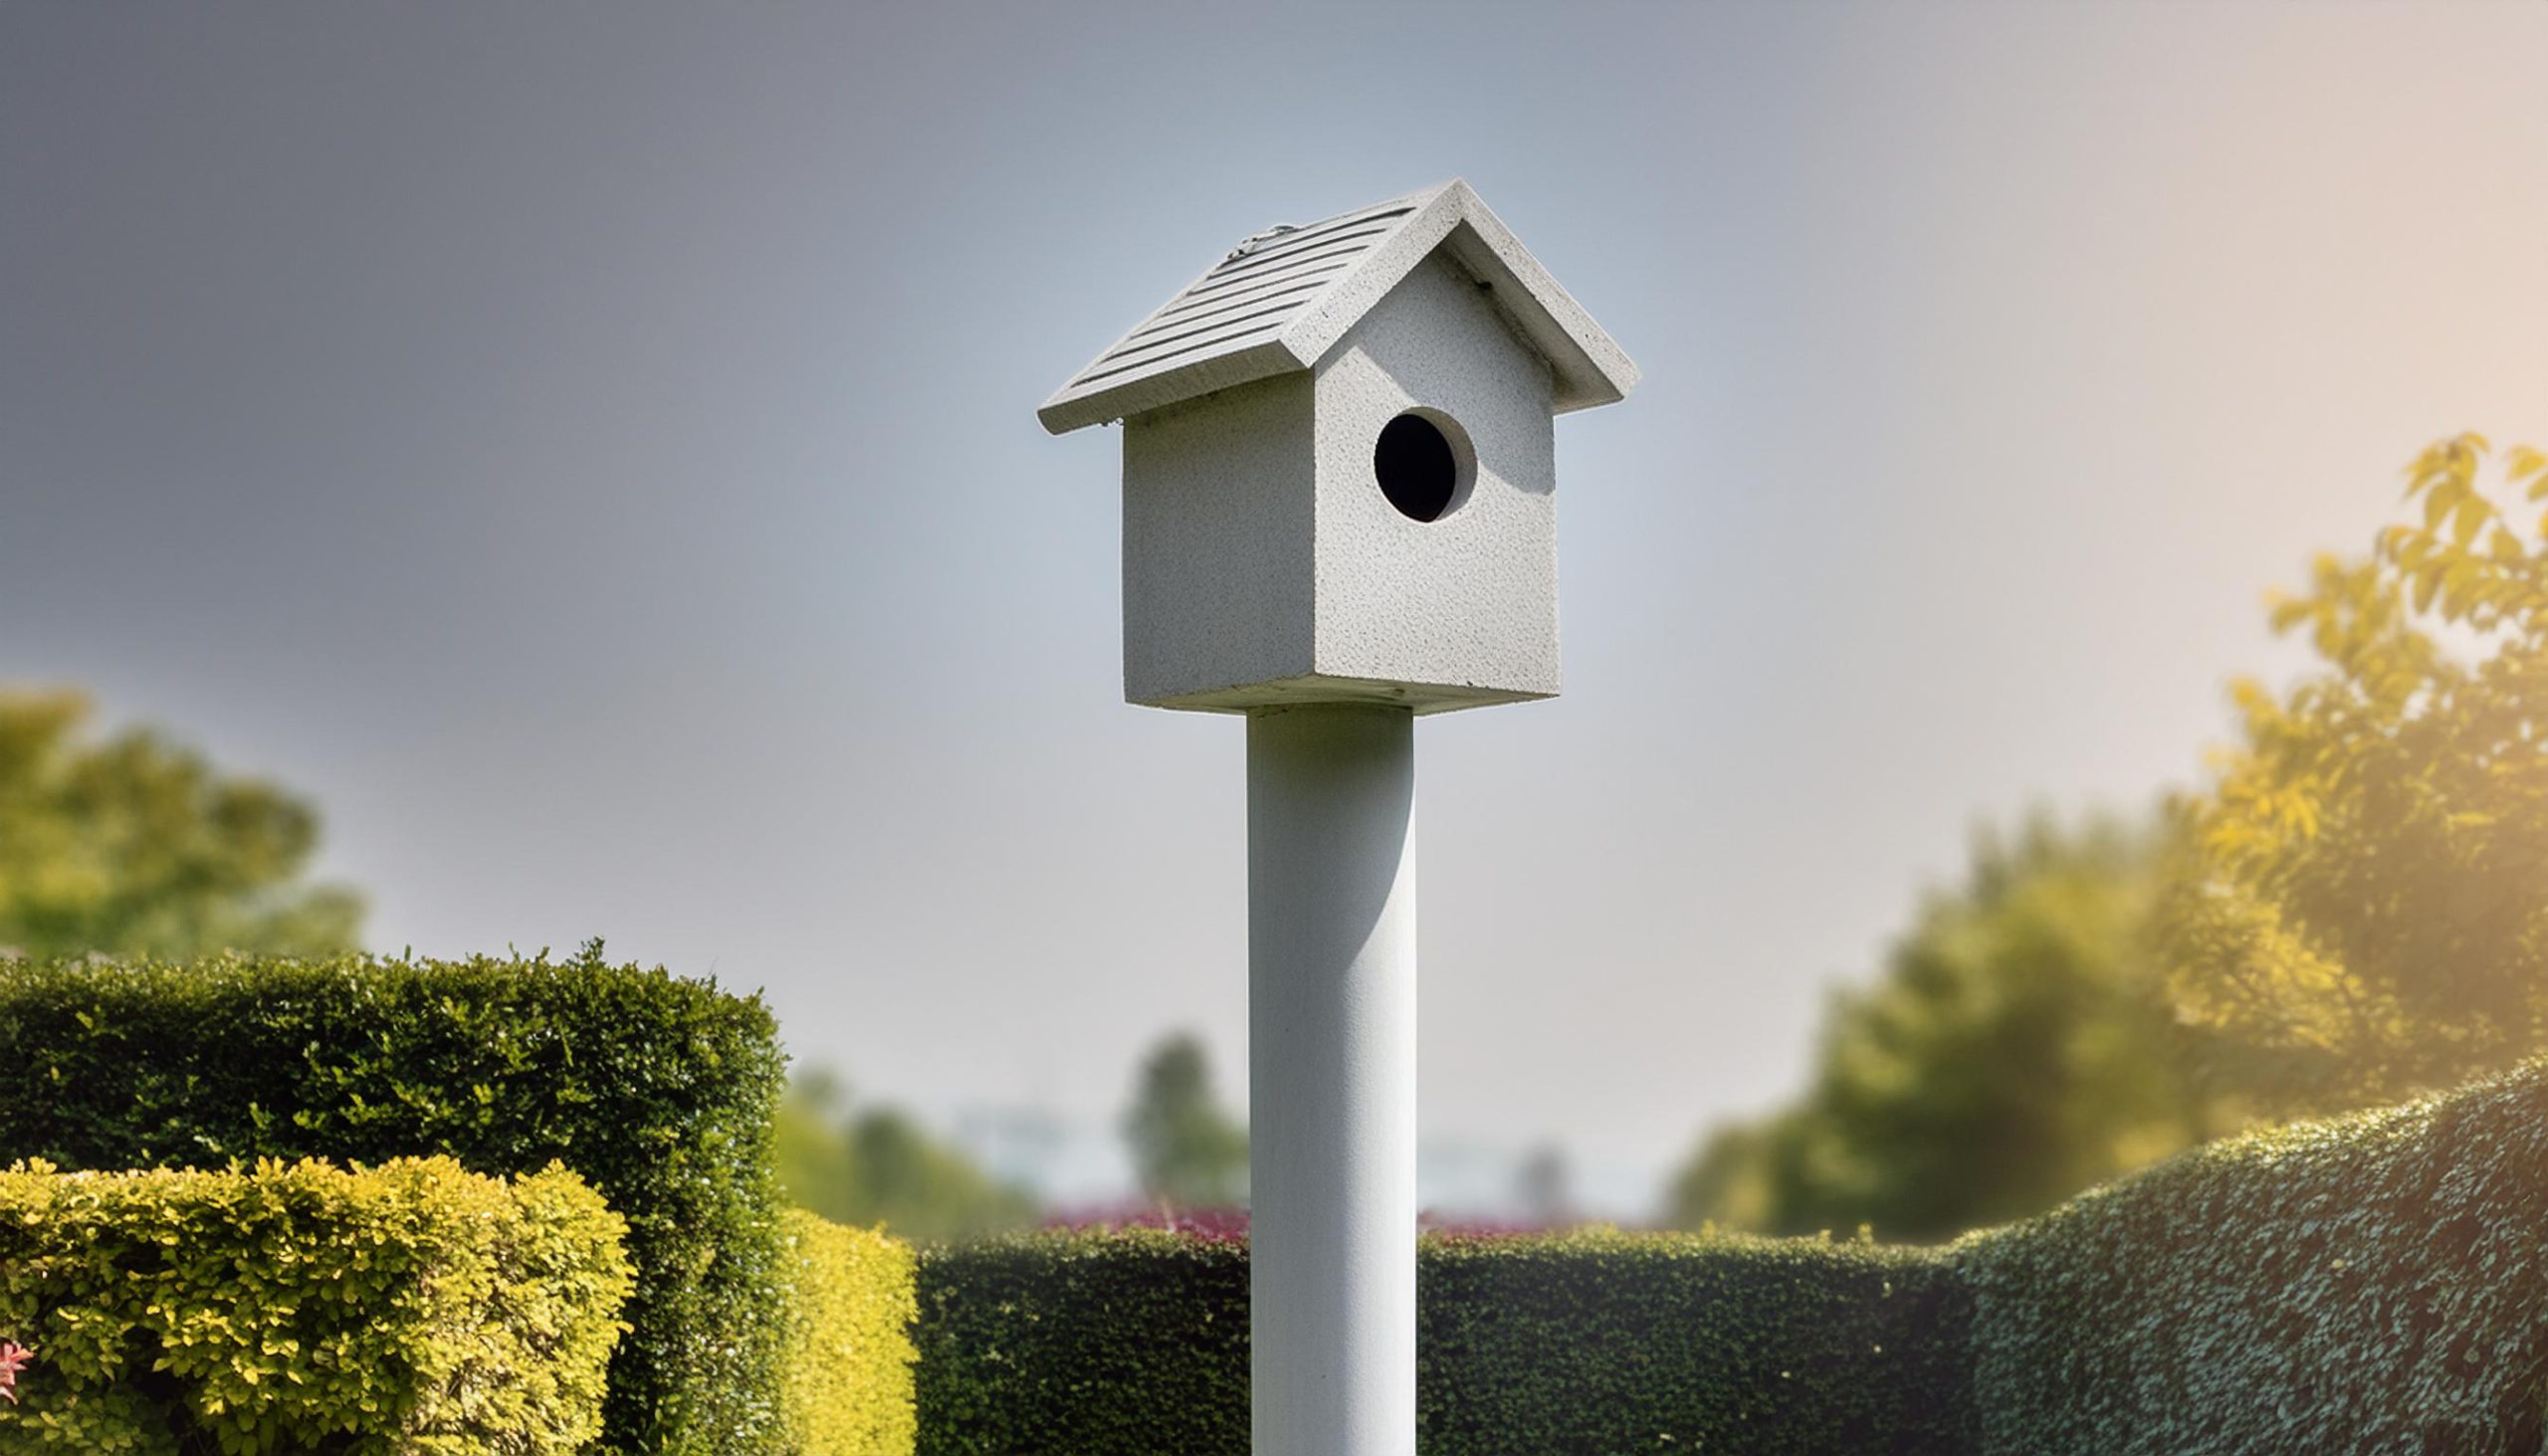
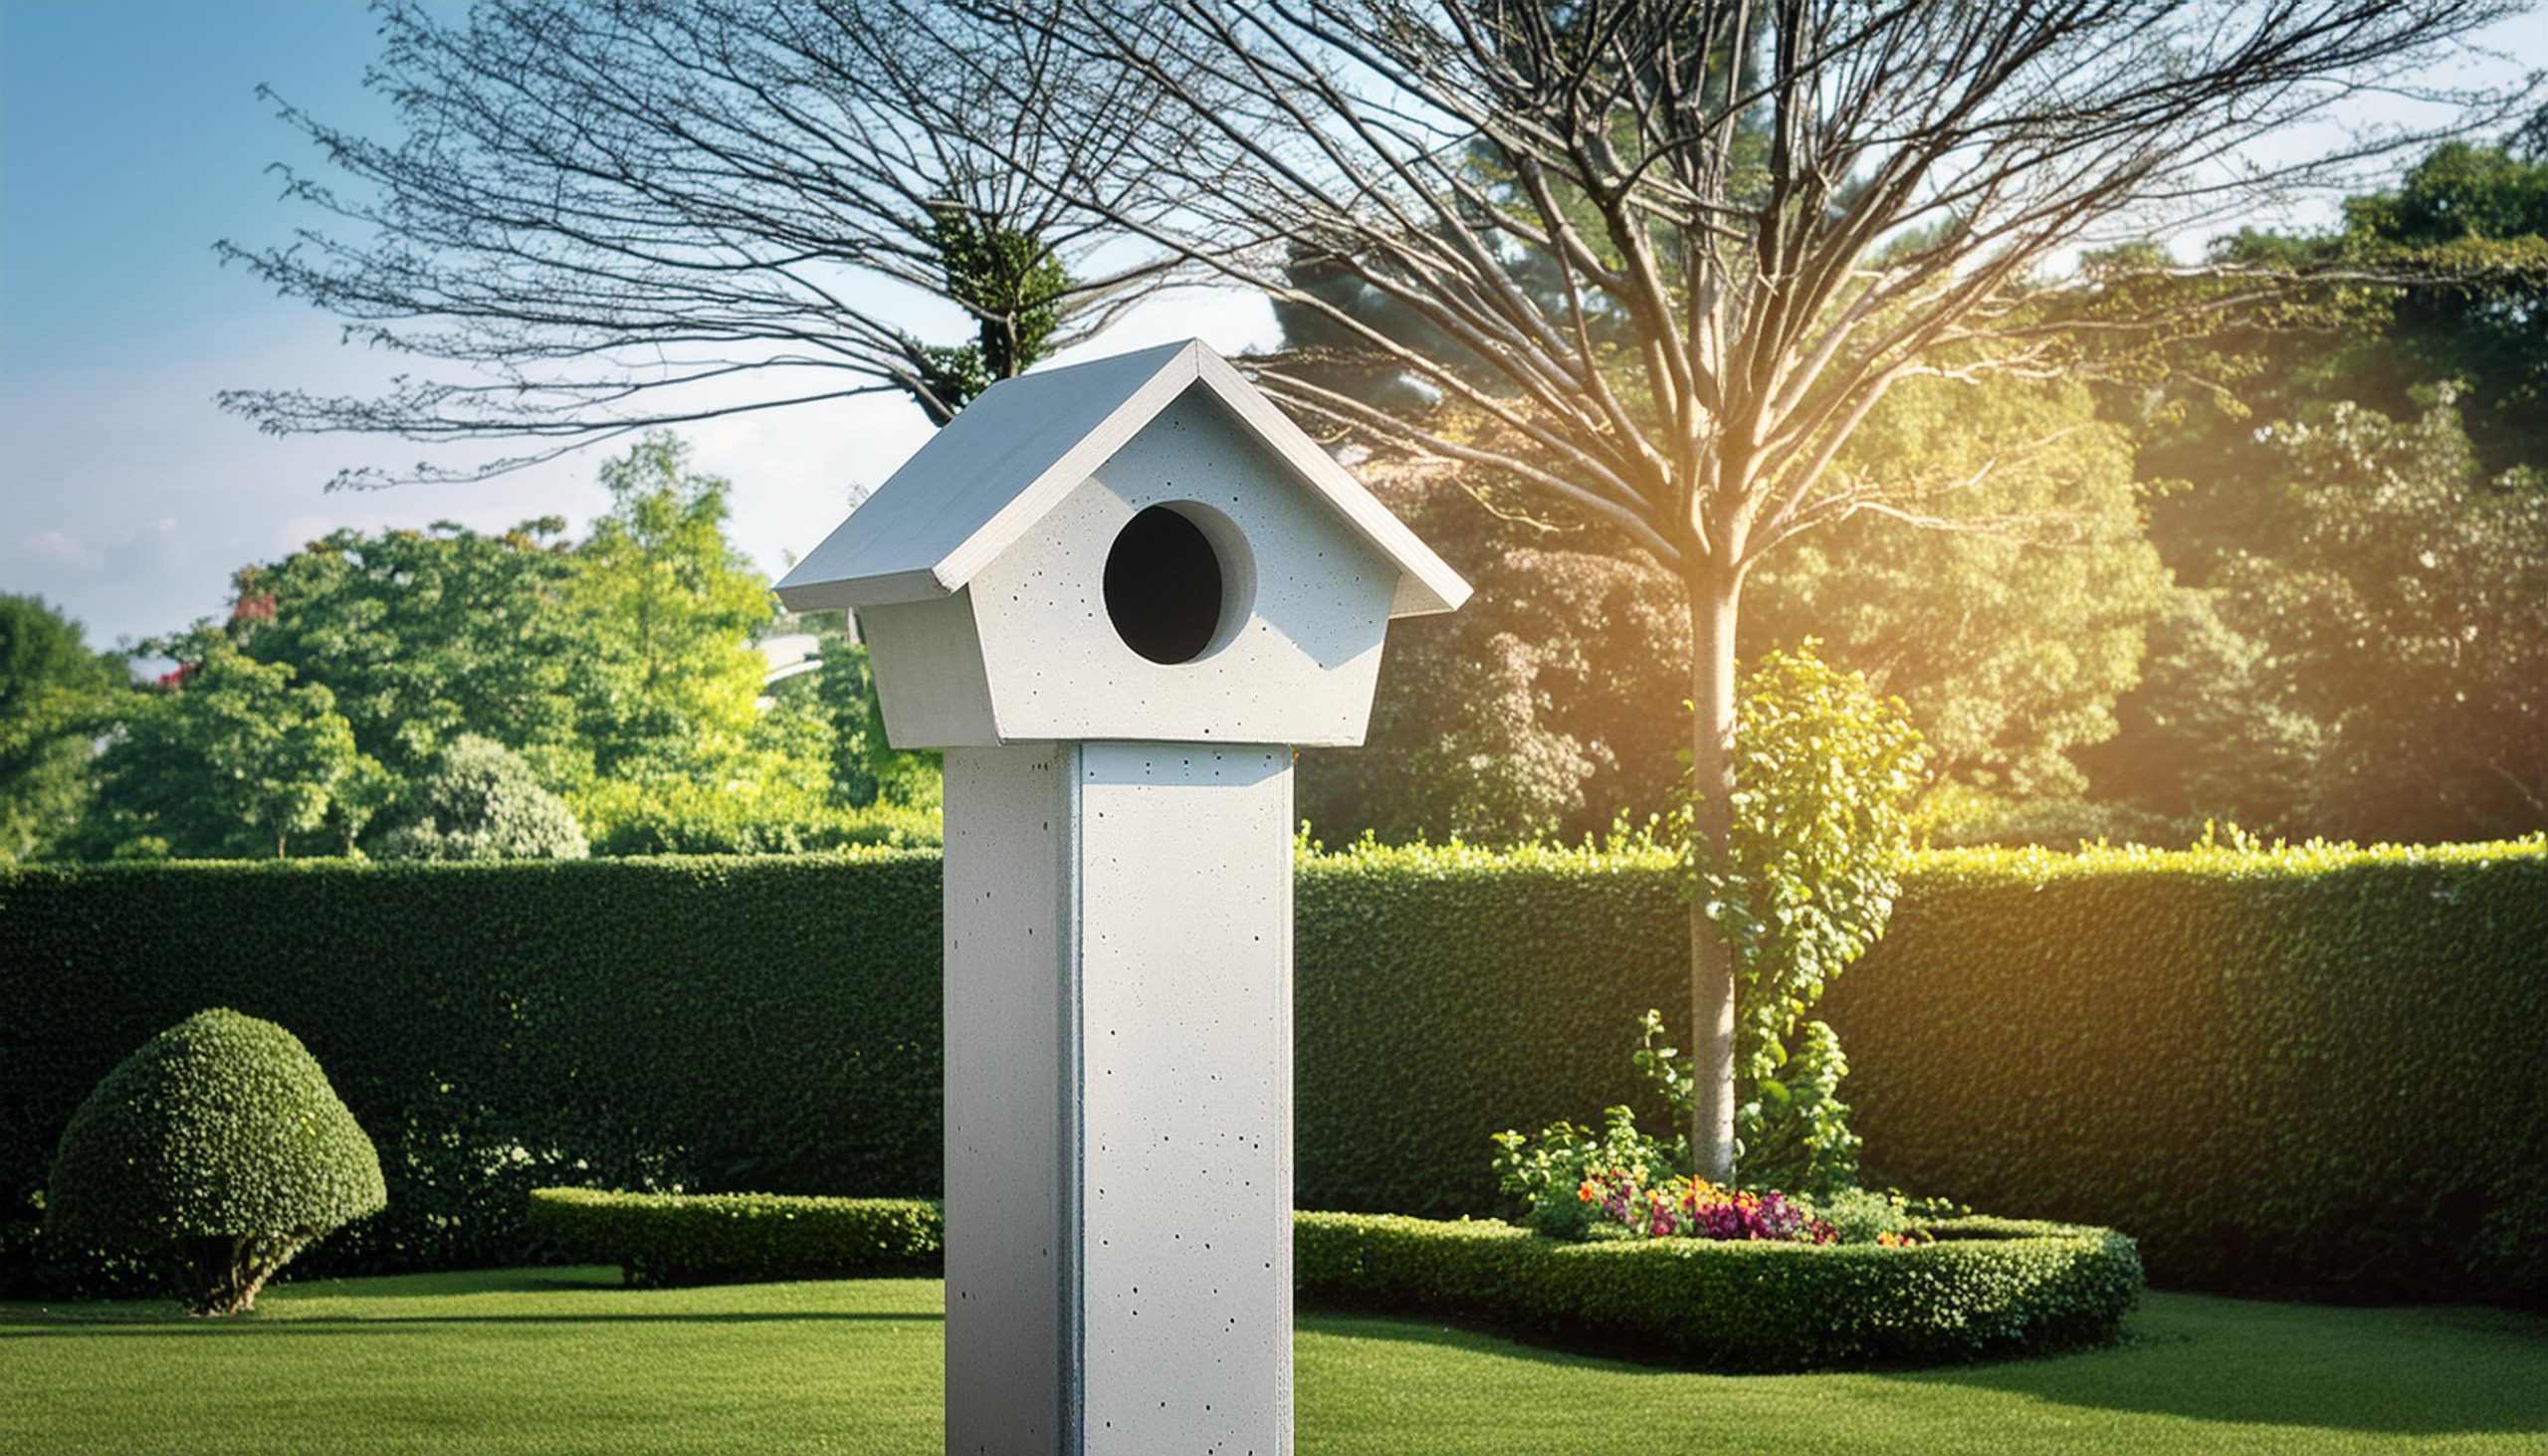
Creating a lightweight concrete birdhouse is a fun and rewarding DIY project that not only enhances your garden’s aesthetic but also provides a safe and comfortable home for your feathered friends. Lightweight concrete is an excellent material for this project due to its durability, weather resistance, and ease of handling. Unlike traditional concrete, lightweight concrete is easier to work with and less cumbersome, making it perfect for crafting intricate designs like birdhouses.
In this comprehensive guide, we’ll walk you through each step of the process, from designing your birdhouse and preparing the mold to mixing the concrete and adding the finishing touches. Whether you’re an experienced DIY enthusiast or a novice, this project offers a delightful way to engage with nature while showcasing your creativity. So, gather your materials, clear your workspace, and get ready to create a charming lightweight concrete birdhouse that will attract birds and beautify your garden.
Materials and Tools Needed
Before you begin, gather the following materials and tools:
Materials:
- Lightweight concrete mix
- Water
- Mold release agent (such as cooking spray or a commercial mold release)
- Reinforcement mesh (optional, for added strength)
- Paint or sealant (optional, for finishing)
- Sandpaper (various grits)
- Silicone caulk (for sealing the mold)
- Wood or plastic parts for the birdhouse entrance and perch
Tools:
- Mixing bucket
- Trowel or putty knife
- Rubber gloves
- Measuring tools (cup, scale)
- Mold (can be made from wood, plastic, or silicone)
- Screwdriver or drill (if using a wooden mold)
- Level
Designing Your Birdhouse
Before you start mixing the concrete, decide on the design and dimensions of your birdhouse. Consider the following:
- Shape and Size: Determine the shape and size of your birdhouse. A simple box design is easy to construct, but you can also opt for more elaborate designs with pitched roofs or decorative elements.
- Entrance Hole: The size of the entrance hole is crucial. Make sure it’s appropriately sized for the type of birds you want to attract. A diameter of 1.5 inches is suitable for small birds like sparrows and chickadees.
- Perch: Decide if you want to add a perch below the entrance hole. A small wooden dowel or plastic rod can serve this purpose.
- Reinforcement: If your birdhouse is large or you want extra strength, consider adding a reinforcement mesh within the concrete mix.

Preparing the Mold
The mold is crucial for shaping your birdhouse. Here’s how to prepare it:
- Choose a Mold: Select a mold that matches your desired birdhouse shape and size. You can use a pre-made mold or create one using materials like wood, plastic, or silicone.
- Seal the Mold: Ensure all seams are sealed with silicone caulk to prevent concrete leakage.
- Apply Mold Release: Coat the inside of the mold with a mold release agent to ensure the concrete can be easily removed once it cures.
- Level the Mold: Place the mold on a flat, level surface to ensure your birdhouse cures evenly.
Mixing the Concrete
- Read the Instructions: Follow the instructions on the lightweight concrete mix package for the correct water-to-mix ratio.
- Mix the Concrete: In a mixing bucket, combine the lightweight concrete mix with water. Stir thoroughly until you achieve a smooth, lump-free consistency.
- Add Color (Optional): If you want a colored birdhouse, add pigment to the concrete mix and blend well.
Pouring the Concrete
- Fill the Mold: Slowly pour the mixed concrete into the prepared mold, filling it evenly.
- Reinforce (Optional): If using reinforcement mesh, place it in the middle of the concrete layer, ensuring it is fully embedded.
- Smooth the Surface: Use a trowel or putty knife to smooth the surface of the concrete, removing any air bubbles.
- Tap the Mold: Gently tap the sides of the mold to release any trapped air bubbles.
Curing the Concrete
- Let it Set: Allow the concrete to cure according to the manufacturer’s instructions. This typically takes 24-48 hours.
- Keep it Moist: During the curing process, keep the concrete moist by covering it with plastic wrap or periodically misting it with water. This helps prevent cracks and ensures a strong, durable birdhouse.
Finishing Touches
- Remove from Mold: Once fully cured, carefully remove the concrete birdhouse from the mold.
- Sand the Edges: Use sandpaper to smooth any rough edges or surfaces. Start with a coarse grit and progress to finer grits for a polished finish.
- Seal the Birdhouse (Optional): Apply a concrete sealer or paint to protect the surface and enhance its appearance. This step is especially important if the birdhouse will be exposed to the elements.
- Attach the Perch: Secure a small wooden dowel or plastic rod below the entrance hole for the perch.
- Install the Entrance: If your mold didn’t include an entrance hole, carefully drill or cut one to the appropriate size.
Installing the Birdhouse
- Choose a Location: Select a suitable location for your birdhouse. Ideally, it should be placed in a quiet, sheltered spot with some tree cover to provide birds with a sense of security.
- Mount the Birdhouse: Use screws, nails, or a sturdy mounting bracket to securely attach the birdhouse to a tree, post, or wall.
- Monitor and Maintain: Regularly check the birdhouse for wear and tear, and clean it out at the end of the nesting season to keep it inviting for future occupants.

Frequently Asked Questions
1. How heavy will my lightweight concrete birdhouse be? Answer: The weight of your birdhouse will depend on its size and thickness, but generally, lightweight concrete is significantly lighter than traditional concrete, making it manageable for most DIY projects.
2. Can I use lightweight concrete for an outdoor birdhouse? Answer: Yes, lightweight concrete is ideal for outdoor use. It is durable and weather-resistant, making it perfect for birdhouses that need to withstand various weather conditions.
3. How do I clean my concrete birdhouse? Answer: To clean your concrete birdhouse, remove any debris or old nesting material after the nesting season. Use a mild soap and water solution to scrub the interior, then rinse thoroughly and let it dry before reinstalling.
Conclusion
Creating a lightweight concrete birdhouse is a rewarding and enjoyable DIY project that combines creativity with practicality, resulting in a beautiful and functional addition to your garden. Lightweight concrete offers the perfect balance of strength and manageability, making it an ideal material for such projects. With the ability to customize the shape, size, texture, and color of your birdhouse, you can create a piece that perfectly fits your aesthetic and functional needs.
This project not only enhances your DIY skills but also provides a sense of accomplishment as you transform simple materials into a beautiful, durable birdhouse. So, take the plunge into the world of concrete crafting and enjoy the process of designing and building a unique piece that will attract birds and add charm to your outdoor space for years to come.

