Introduction
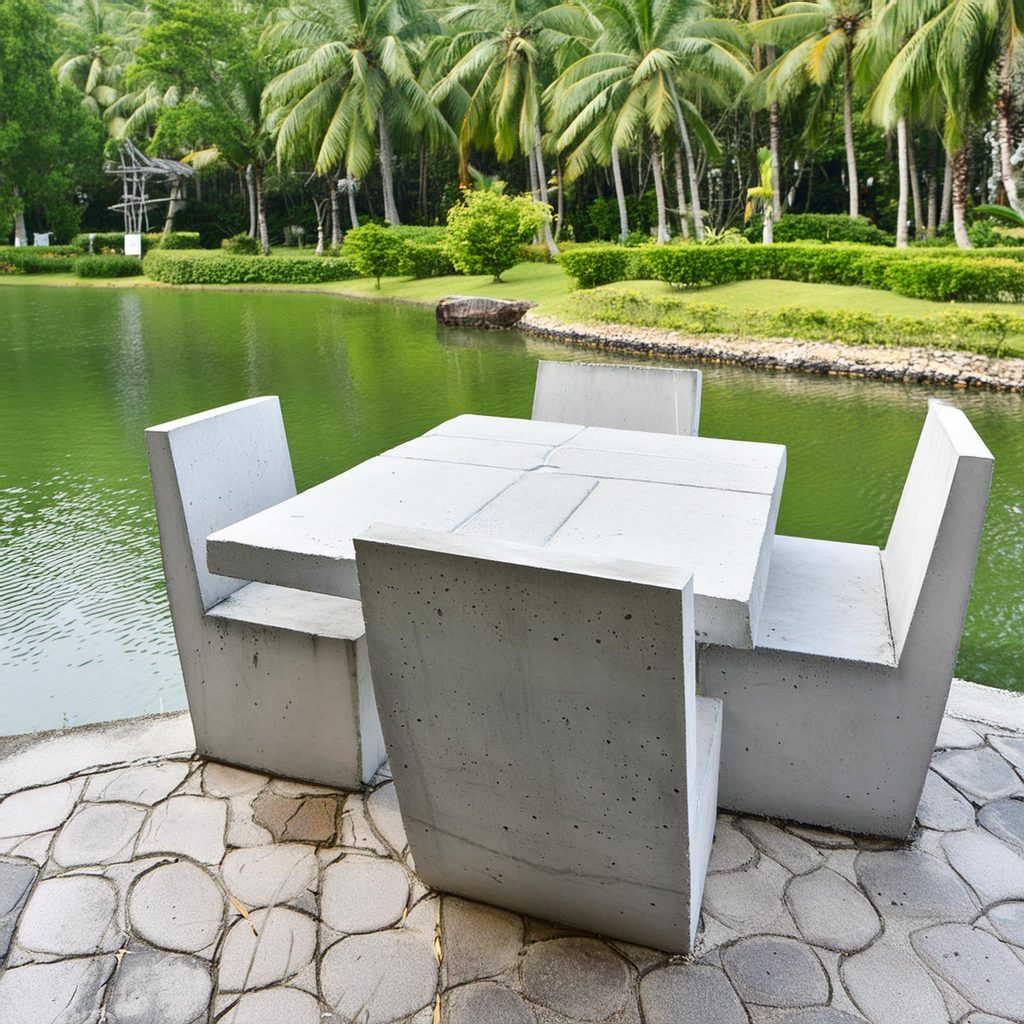
Creating your own lightweight concrete chairs through a DIY project is a rewarding way to personalize your outdoor living space while exploring your creativity. DIY lightweight concrete chairs offer the same durability and aesthetic appeal as store-bought options but with the added satisfaction of crafting something unique with your own hands. In this detailed guide, we’ll walk you through the step-by-step process of making DIY lightweight concrete chairs, from choosing materials and molds to mixing concrete and finishing techniques. Whether you’re a seasoned DIY enthusiast or a first-time crafter, this project is sure to inspire and elevate your outdoor decor.
Choosing Materials and Tools
Concrete Mix: Select a lightweight concrete mix suitable for outdoor use. Lightweight aggregates like perlite or vermiculite are commonly used to reduce weight while maintaining strength.
Molds: Decide on the shape and size of your chairs. Molds can be purchased or made from materials like plywood or plastic. Ensure molds are sturdy and properly sealed to prevent leaks.
Reinforcement: Consider adding reinforcement like fiberglass mesh or rebar to strengthen your lightweight concrete chairs, especially for larger or more complex designs.
Tools: Gather essential tools such as a mixing container, trowel, gloves, protective eyewear, and a respirator mask for handling concrete mixtures.
Step-by-Step Guide to Making DIY Lightweight Concrete Chairs
1. Design and Planning: Sketch out your chair design and calculate the amount of concrete mix needed based on mold dimensions. Consider ergonomic factors such as seat height and backrest angle for comfort.
2. Prepare the Mold: Coat the interior of your mold with a release agent to facilitate easy removal of the concrete once cured. Ensure the mold is level and stable before pouring.
3. Mix the Concrete: Follow manufacturer instructions to mix the lightweight concrete thoroughly. Add water gradually to achieve the desired consistency, ensuring all dry ingredients are fully blended.
4. Pouring the Concrete: Carefully pour the mixed concrete into the mold, starting from the bottom and working your way up. Use a trowel to eliminate air bubbles and achieve a smooth surface.
5. Curing Process: Cover the mold with plastic sheeting or a tarp to retain moisture during the curing process. Allow the concrete to cure for the recommended time before demolding.
6. Demolding and Finishing: Once cured, carefully remove the chair from the mold. Smooth any rough edges with sandpaper or a concrete grinder. Optionally, apply a concrete sealer to protect the surface and enhance durability.

Customization and Design Ideas
Texture and Color: Experiment with different textures and color additives to customize the look of your lightweight concrete chairs. Techniques like stamping or staining can create unique patterns and finishes.
Embedded Features: Incorporate embedded features such as mosaic tiles, glass beads, or decorative aggregates into the surface of your chairs for added visual interest.
Personalized Touches: Add personalization through engravings, embedded objects, or even integrated planters to make your DIY lightweight concrete chairs truly one-of-a-kind.
Maintenance and Care Tips
Sealing: Apply a concrete sealer to protect your chairs from stains, moisture, and UV exposure. Reapply sealer periodically to maintain optimal protection.
Winter Storage: In colder climates, store lightweight concrete chairs indoors or cover them with waterproof furniture covers during winter to prevent damage from freezing temperatures.
Regular Inspections: Periodically inspect your DIY lightweight concrete chairs for any signs of wear, cracking, or damage. Prompt repairs and maintenance will prolong their lifespan and preserve their appearance.
manageable with the right tools and instructions. Beginners may find the process challenging initially, but following a step-by-step guide and taking necessary precautions can lead to successful results.
Frequently Asked Question
What materials and tools are needed for DIY lightweight concrete chairs? To create DIY lightweight concrete chairs, you will need materials such as lightweight concrete mix, molds (which can be purchased or made), reinforcement like fiberglass mesh or rebar, and a release agent for the molds. Essential tools include a mixing container, trowel, gloves, protective eyewear, and a respirator mask for safety during the concrete mixing process.
How long does it take to make DIY lightweight concrete chairs? The time required to make DIY lightweight concrete chairs can vary based on factors such as the complexity of the design, the curing time of the concrete, and weather conditions if working outdoors. Generally, the process involves designing and planning, mixing and pouring the concrete into molds, allowing for curing time (typically several days), and then demolding and finishing the chairs.
Conclusion
DIY lightweight concrete chairs offer a creative and fulfilling way to enhance your outdoor living space with personalized seating solutions. By following this guide and unleashing your creativity, you can craft durable, stylish chairs that reflect your unique design preferences and practical needs. From choosing materials and molds to mixing concrete and adding personalized touches, the process of making DIY lightweight concrete chairs is both rewarding and enjoyable. Embrace the versatility of lightweight concrete and embark on a DIY project that will not only beautify your outdoor environment but also provide functional seating for years to come. Get started today and create your own masterpiece of comfort and craftsmanship with DIY lightweight concrete chairs.

