Garden pillars are a timeless and elegant addition to any outdoor space, offering both structural support and decorative charm. When crafted from lightweight concrete, these pillars provide the durability and strength of traditional concrete without the excessive weight, making them easier to handle and install. In this blog, we will explore the design possibilities, benefits, and step-by-step construction process of garden pillars using lightweight concrete.
Introduction
Garden pillars have long been a staple in landscape design, offering a versatile element that can elevate the aesthetics of any outdoor area. Traditionally made from materials like stone or heavy concrete, garden pillars can now be constructed using lightweight concrete, which offers numerous advantages. Lightweight concrete pillars are easier to work with, more affordable, and still provide the durability needed for outdoor use. In this blog, we will delve into the design options available for garden pillars, the benefits of using lightweight concrete, and a detailed guide on constructing these pillars to enhance your garden’s beauty and functionality.
Benefits of Lightweight Concrete for Garden Pillars
- Ease of Handling and Installation: Lightweight concrete is significantly less heavy than traditional concrete, making it easier to transport, handle, and install. This is particularly beneficial for DIY enthusiasts and those working in tight or elevated spaces.
- Durability and Strength: Despite being lighter, lightweight concrete retains the robustness of traditional concrete. It can withstand various weather conditions, ensuring your garden pillars remain intact and attractive over time.
- Versatility in Design: Lightweight concrete can be molded into a variety of shapes and sizes, offering endless design possibilities. Whether you prefer classic, ornate designs or sleek, modern lines, lightweight concrete can accommodate your vision.
- Cost-Effectiveness: Lightweight concrete is often more affordable than traditional concrete or natural stone. Additionally, the reduced weight can lower labor and transportation costs, making it a budget-friendly option for garden projects.
- Eco-Friendly: Many lightweight concrete mixtures incorporate recycled materials, making it a more sustainable choice for environmentally conscious homeowners.

Design Possibilities for Garden Pillars
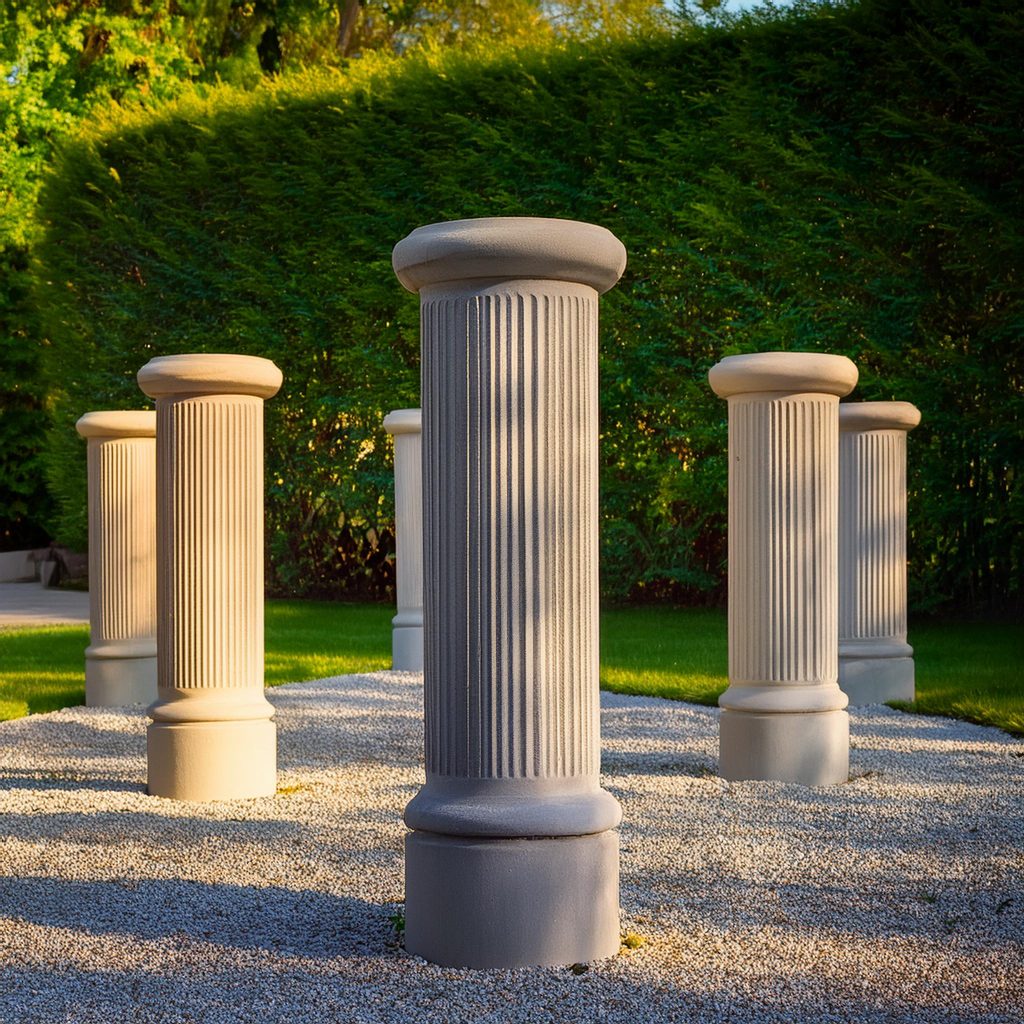
1. Classic Corinthian Columns
- Inspired by ancient Greek architecture, Corinthian columns feature ornate capitals decorated with acanthus leaves and scrolls. These pillars add a touch of grandeur and timeless elegance to any garden.
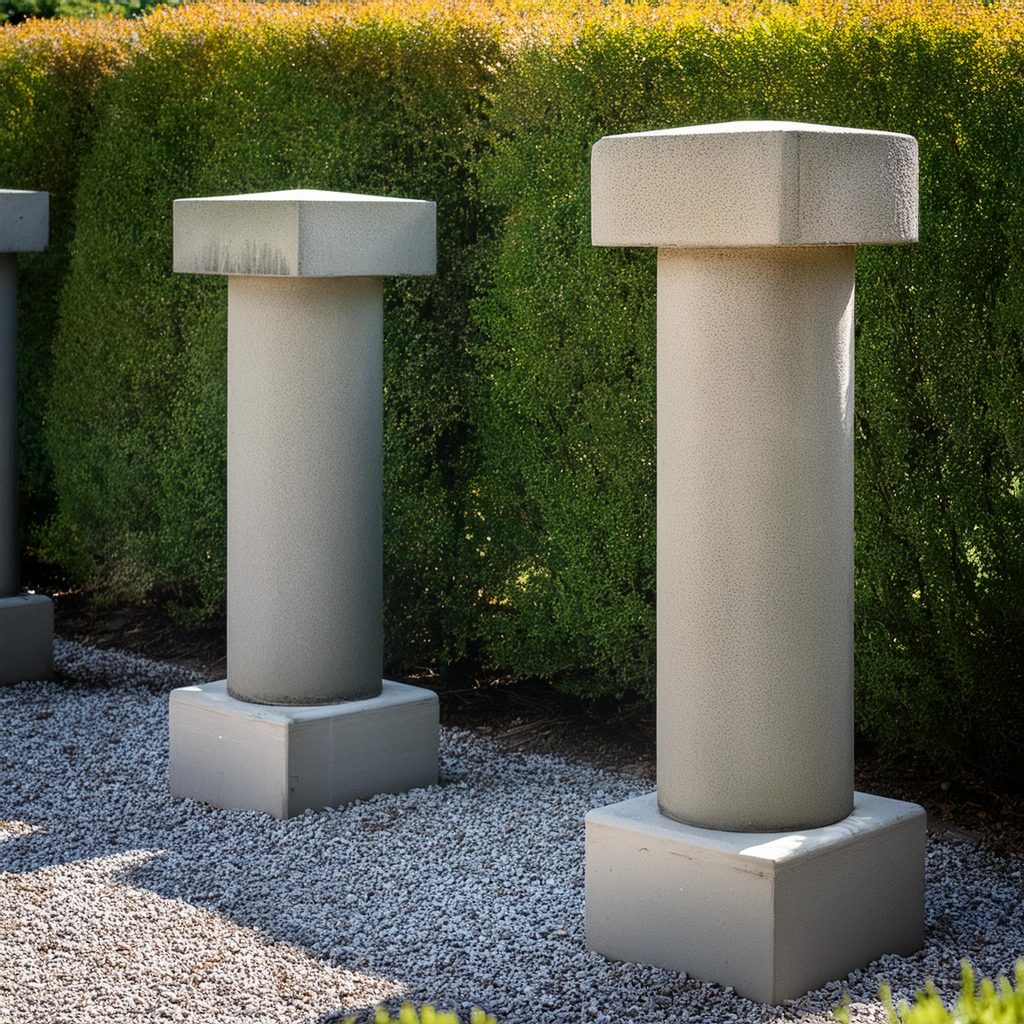
2. Modern Minimalist Pillars
- For a contemporary look, opt for sleek, simple designs with clean lines. Modern minimalist pillars can serve as understated yet sophisticated elements in your garden landscape.
3. Rustic Textured Pillars
- Create a rustic, natural look by incorporating textures that mimic wood or stone. Textured pillars can blend seamlessly into a garden filled with lush greenery and natural elements.
4. Decorative Moldings and Reliefs
- Enhance your garden pillars with decorative moldings, reliefs, or engravings. These intricate details can add a personalized touch and elevate the overall aesthetic of your outdoor space.
5. Integrated Lighting
- Incorporate lighting fixtures into your garden pillars to create a warm and inviting atmosphere. LED lights or solar-powered options can highlight pathways or specific garden features at night.
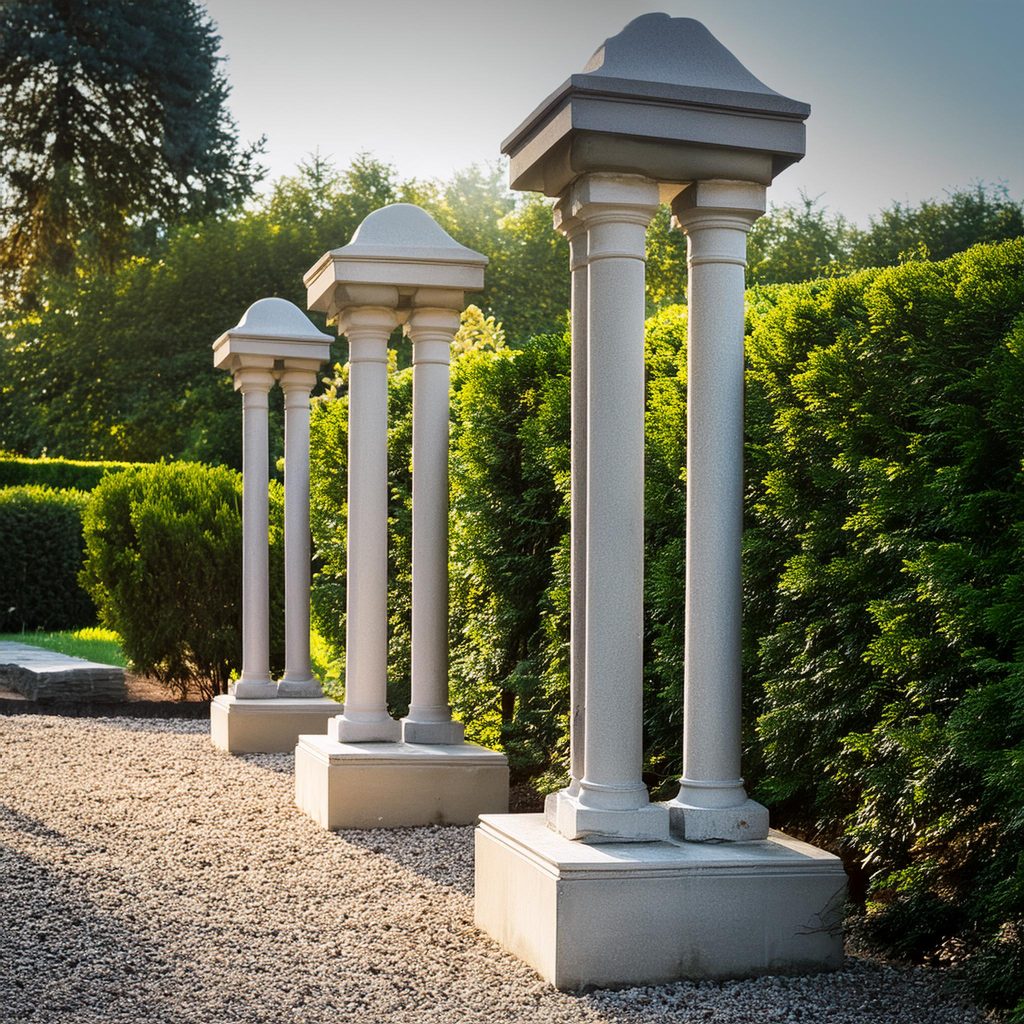
6. Functional Pillars
- Design pillars that serve dual purposes, such as supporting pergolas, trellises, or garden arches. Functional pillars can provide structural support while adding to the visual appeal of your garden.
Step-by-Step Construction of Garden Pillars with Lightweight Concrete

Materials Needed:
- Lightweight concrete mix
- Molds or formwork for the desired pillar shape
- Rebar or steel rods for reinforcement
- Concrete sealant or waterproofing agent
- Trowel and other concrete tools
- Measuring tape and level
- Paint or stain (optional for finishing)
Step 1: Planning and Design
Before starting the construction, carefully plan the design and placement of your garden pillars. Measure the area where the pillars will be installed and decide on the height, width, and style of the pillars. Ensure that the design complements the overall aesthetic of your garden.
Step 2: Preparing the Mold
Prepare the molds or formwork according to the desired shape and size of your pillars. Molds can be made from wood, plastic, or metal, depending on your preference and availability. Ensure the molds are sturdy and well-supported to hold the concrete mixture.
Step 3: Reinforcement
Insert rebar or steel rods into the mold for added strength and stability. The reinforcement should be positioned in the center of the mold and extend from the base to the top of the pillar. Secure the reinforcement in place to prevent movement during the pouring process.
Step 4: Mixing the Lightweight Concrete
Follow the manufacturer’s instructions to mix the lightweight concrete. Ensure the mixture is consistent and free of lumps. If desired, add color pigments to the mix to achieve a specific hue for your pillars.
Step 5: Pouring the Concrete
Carefully pour the mixed lightweight concrete into the prepared molds, ensuring even distribution. Use a trowel to smooth the surface and remove any air bubbles. Tap the sides of the mold gently to help the concrete settle and eliminate voids.
Step 6: Curing
Allow the concrete to cure according to the manufacturer’s instructions. Curing time can vary based on the mix and environmental conditions, but it typically takes several days to a week. During this time, keep the concrete moist to prevent cracking and ensure proper hardening.
Step 7: Removing the Mold
Once the concrete has fully cured, carefully remove the mold. Use caution to avoid damaging the newly formed pillars. If necessary, sand any rough edges or imperfections to achieve a smooth finish.
Step 8: Sealing and Finishing
Apply a concrete sealant or waterproofing agent to protect the pillars from moisture and environmental damage. If desired, paint or stain the pillars to match your garden’s color scheme. Consider adding decorative elements or reliefs for a personalized touch.
Step 9: Installation
Install the garden pillars in their designated locations. Ensure the ground is level and stable before securing the pillars. Depending on the height and weight of the pillars, additional support or anchoring may be required to ensure stability.

Conclusion
Lightweight concrete garden pillars are an excellent way to add structure, elegance, and functionality to your outdoor space. With the ease of handling and installation, versatility in design, and long-lasting durability, lightweight concrete is an ideal material for creating beautiful garden pillars. Whether you prefer classic, modern, or rustic styles, the design possibilities are endless, allowing you to customize your garden pillars to suit your aesthetic preferences. By following the step-by-step construction process outlined in this blog, you can confidently build and install garden pillars that will enhance the beauty and value of your garden for years to come.
Incorporating garden pillars into your landscape not only provides structural support but also serves as a decorative focal point that can elevate the overall look of your garden. Whether used to support climbing plants, define garden paths, or simply as standalone decorative elements, lightweight concrete garden pillars offer a versatile and stylish solution. With the right design and construction techniques, you can create stunning garden pillars that enhance your outdoor space, providing both beauty and functionality. So, get started on your garden pillar project today and transform your garden into a charming and elegant retreat.
Frequently Asked Questions (FAQ)
1. Why should I choose lightweight concrete for garden pillars over traditional concrete?
- Answer: Lightweight concrete is easier to handle and install compared to traditional concrete due to its reduced weight. It offers similar durability and strength while being more affordable and eco-friendly. Additionally, lightweight concrete can be molded into a variety of shapes and sizes, allowing for greater design flexibility in your garden.
2. How long does it take for lightweight concrete garden pillars to cure?
- Answer: The curing time for lightweight concrete can vary based on the specific mix and environmental conditions, but it typically takes several days to a week. It is important to keep the concrete moist during the curing process to prevent cracking and ensure proper hardening.
3. Can I add decorative elements or lighting to my garden pillars?
- Answer: Yes, lightweight concrete garden pillars can be customized with decorative elements such as moldings, reliefs, or engravings. You can also incorporate lighting fixtures into the pillars to create a warm and inviting atmosphere in your garden, enhancing both the functionality and aesthetic appeal of your outdoor space.
4. Are lightweight concrete garden pillars durable enough for outdoor use?
- Answer: Absolutely. Lightweight concrete is designed to withstand various weather conditions, making it a durable option for outdoor use. When properly sealed and maintained, lightweight concrete garden pillars can last for many years without significant wear or damage.
5. Can I install lightweight concrete garden pillars myself, or do I need professional help?
- Answer: While lightweight concrete is easier to handle and install compared to traditional concrete, the installation of garden pillars still requires some level of skill and knowledge. If you are comfortable with basic construction techniques and have the necessary tools, you can install the pillars yourself. However, for more complex designs or larger projects, seeking professional assistance may be beneficial to ensure the best results.

