Introduction
Creating a lightweight concrete lamp base is a fantastic DIY project that combines functionality and modern design. Lightweight concrete is an excellent choice for a lamp base because it provides stability and a sleek, contemporary look without the excessive weight of traditional concrete. This project allows you to customize your lamp base to match your personal style and home decor.
In this comprehensive guide, we’ll walk you through the process of making your own lightweight concrete lamp base, from gathering materials to finishing touches. Whether you’re a seasoned DIY enthusiast or a beginner, this project is a fun and rewarding way to create a unique and stylish piece for your home. So, gather your materials, get ready to unleash your creativity, and let’s create a stunning lightweight concrete lamp base together!
Materials and Tools Needed for Making a Lamp Base
Materials:
- Lightweight concrete mix
- Water
- Concrete pigment (optional)
- Lamp kit (socket, cord, and plug)
- Release agent (cooking spray or specialized mold release spray)
- Felt pads (to protect surfaces)
Tools:
- Mixing bucket or wheelbarrow
- Shovel or hoe for mixing
- Measuring cup
- Mold (pre-made or DIY from wood, plastic, or silicone)
- Trowel or putty knife
- Rubber gloves
- Safety glasses
- Dust mask
- Drill with a masonry bit
- Sandpaper or sanding block
Designing Your Lamp Base
Choosing the Shape and Size:
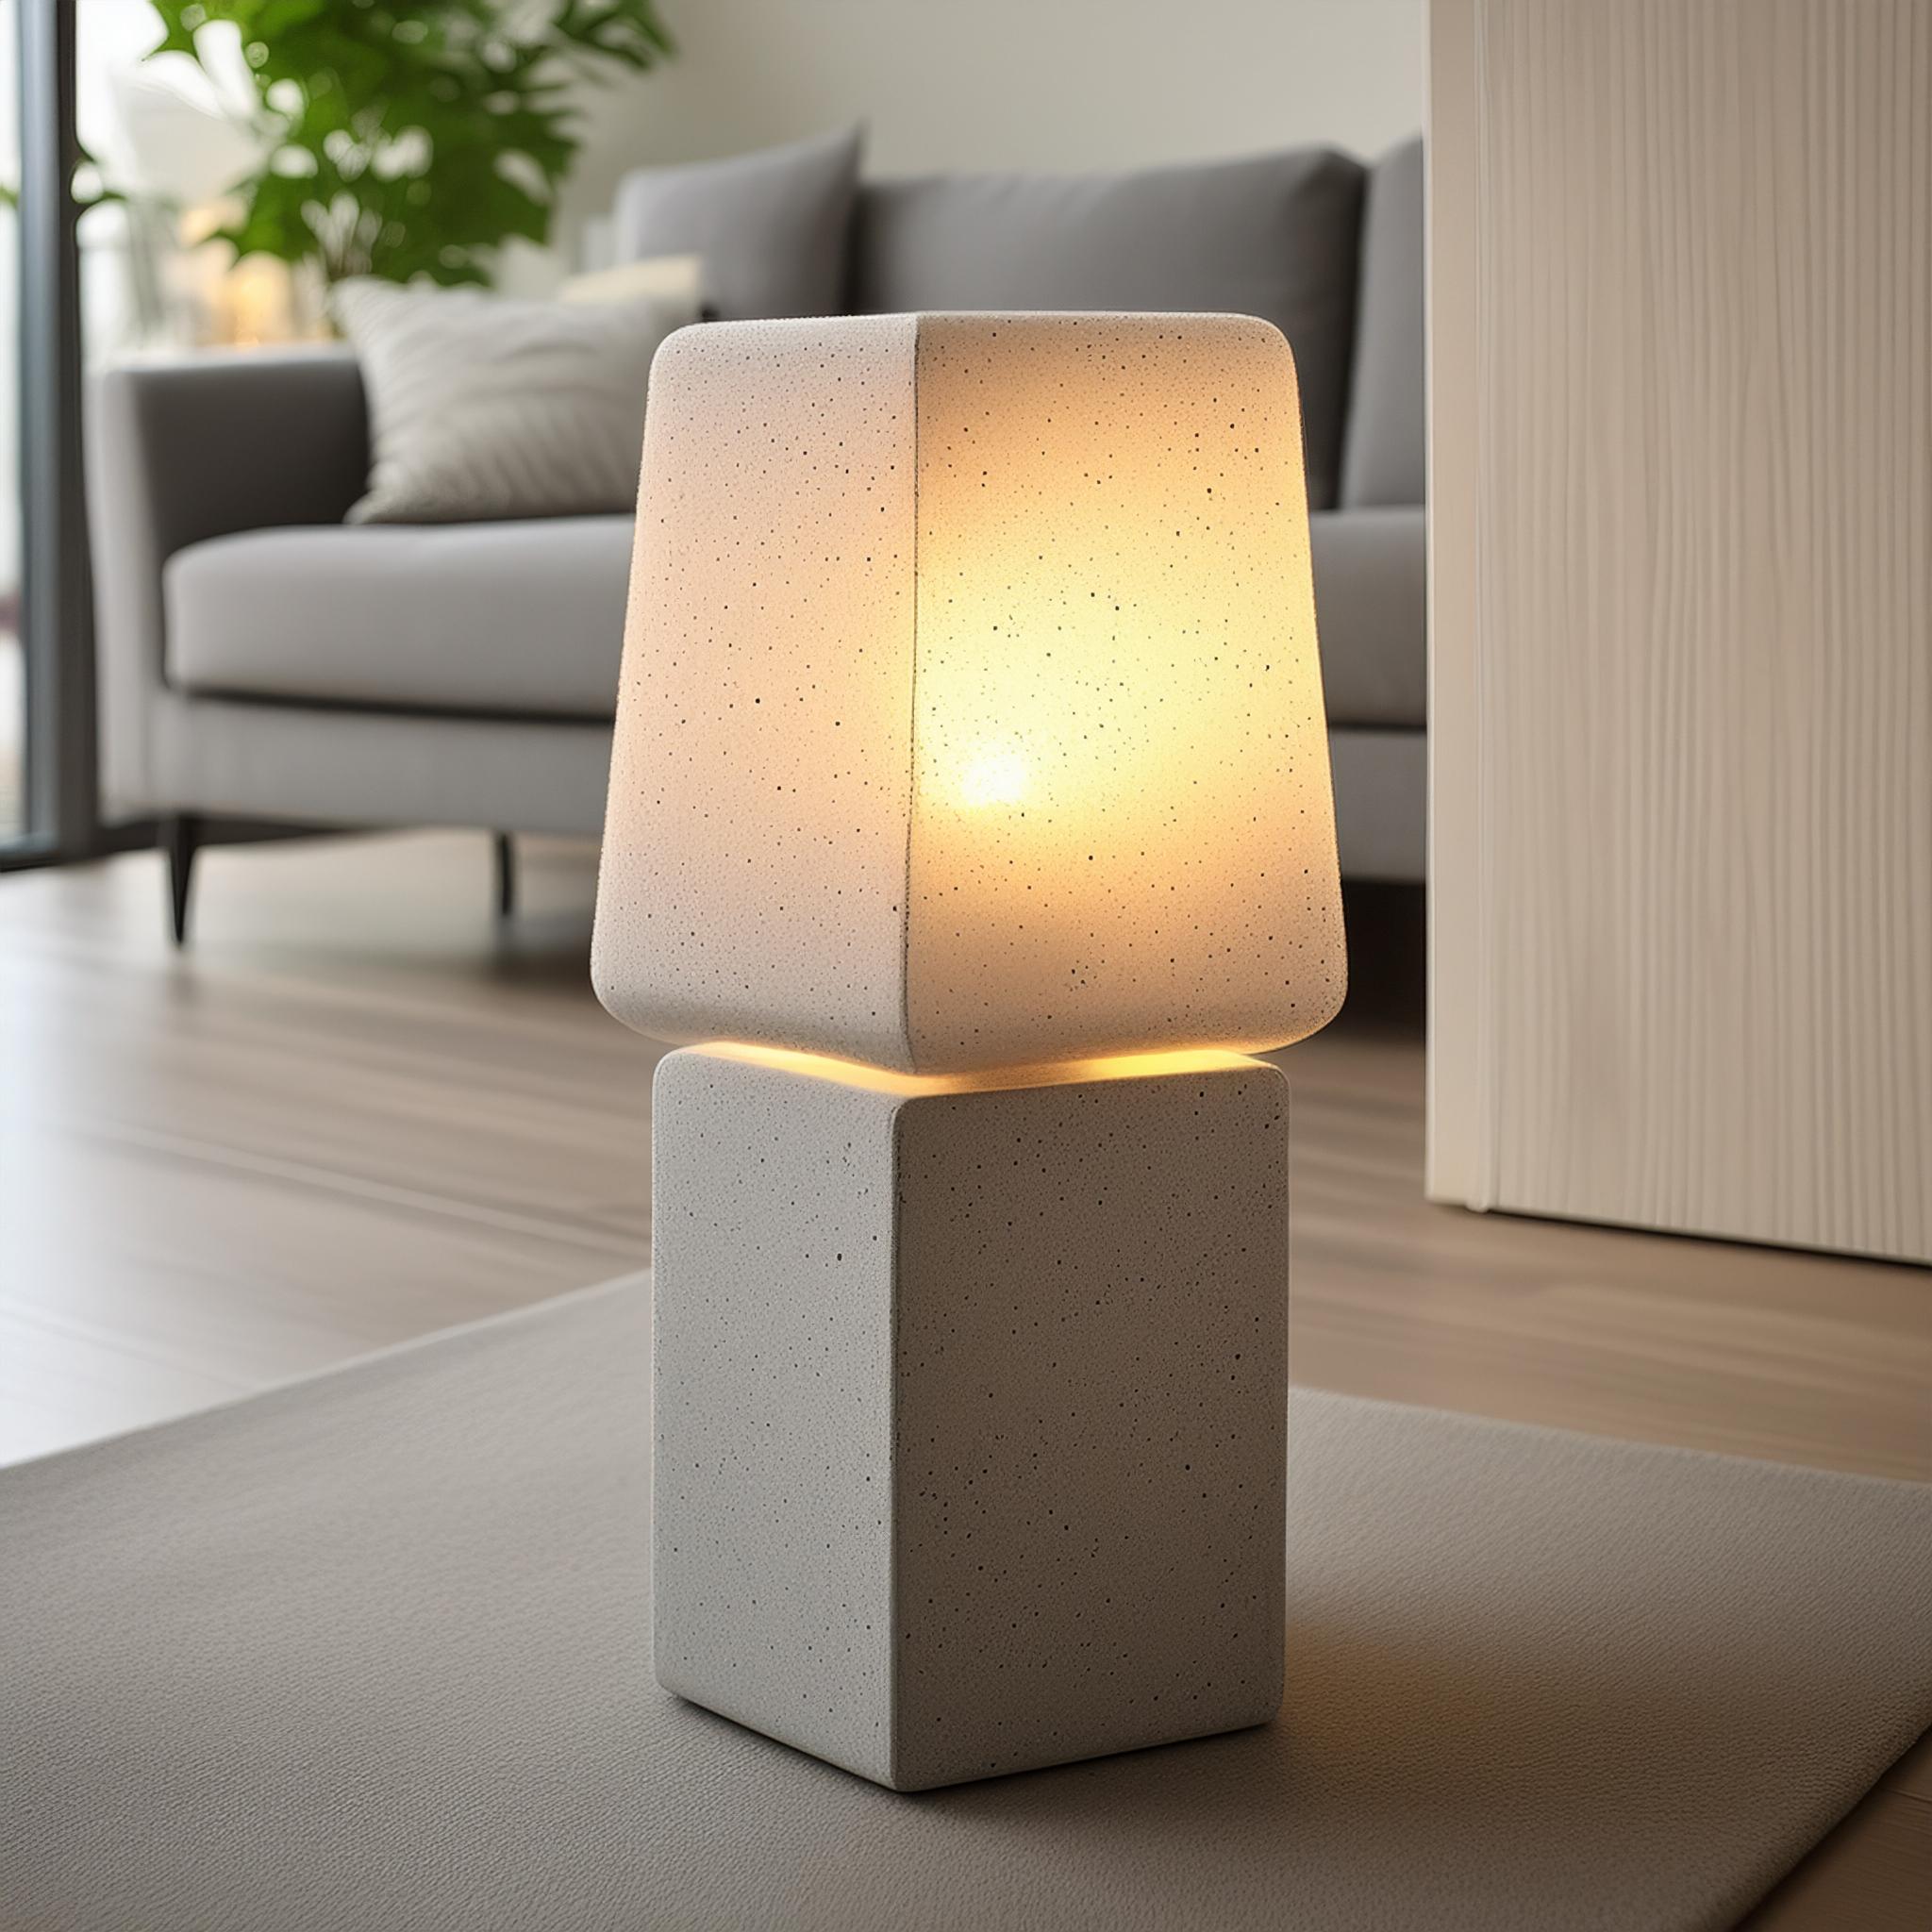
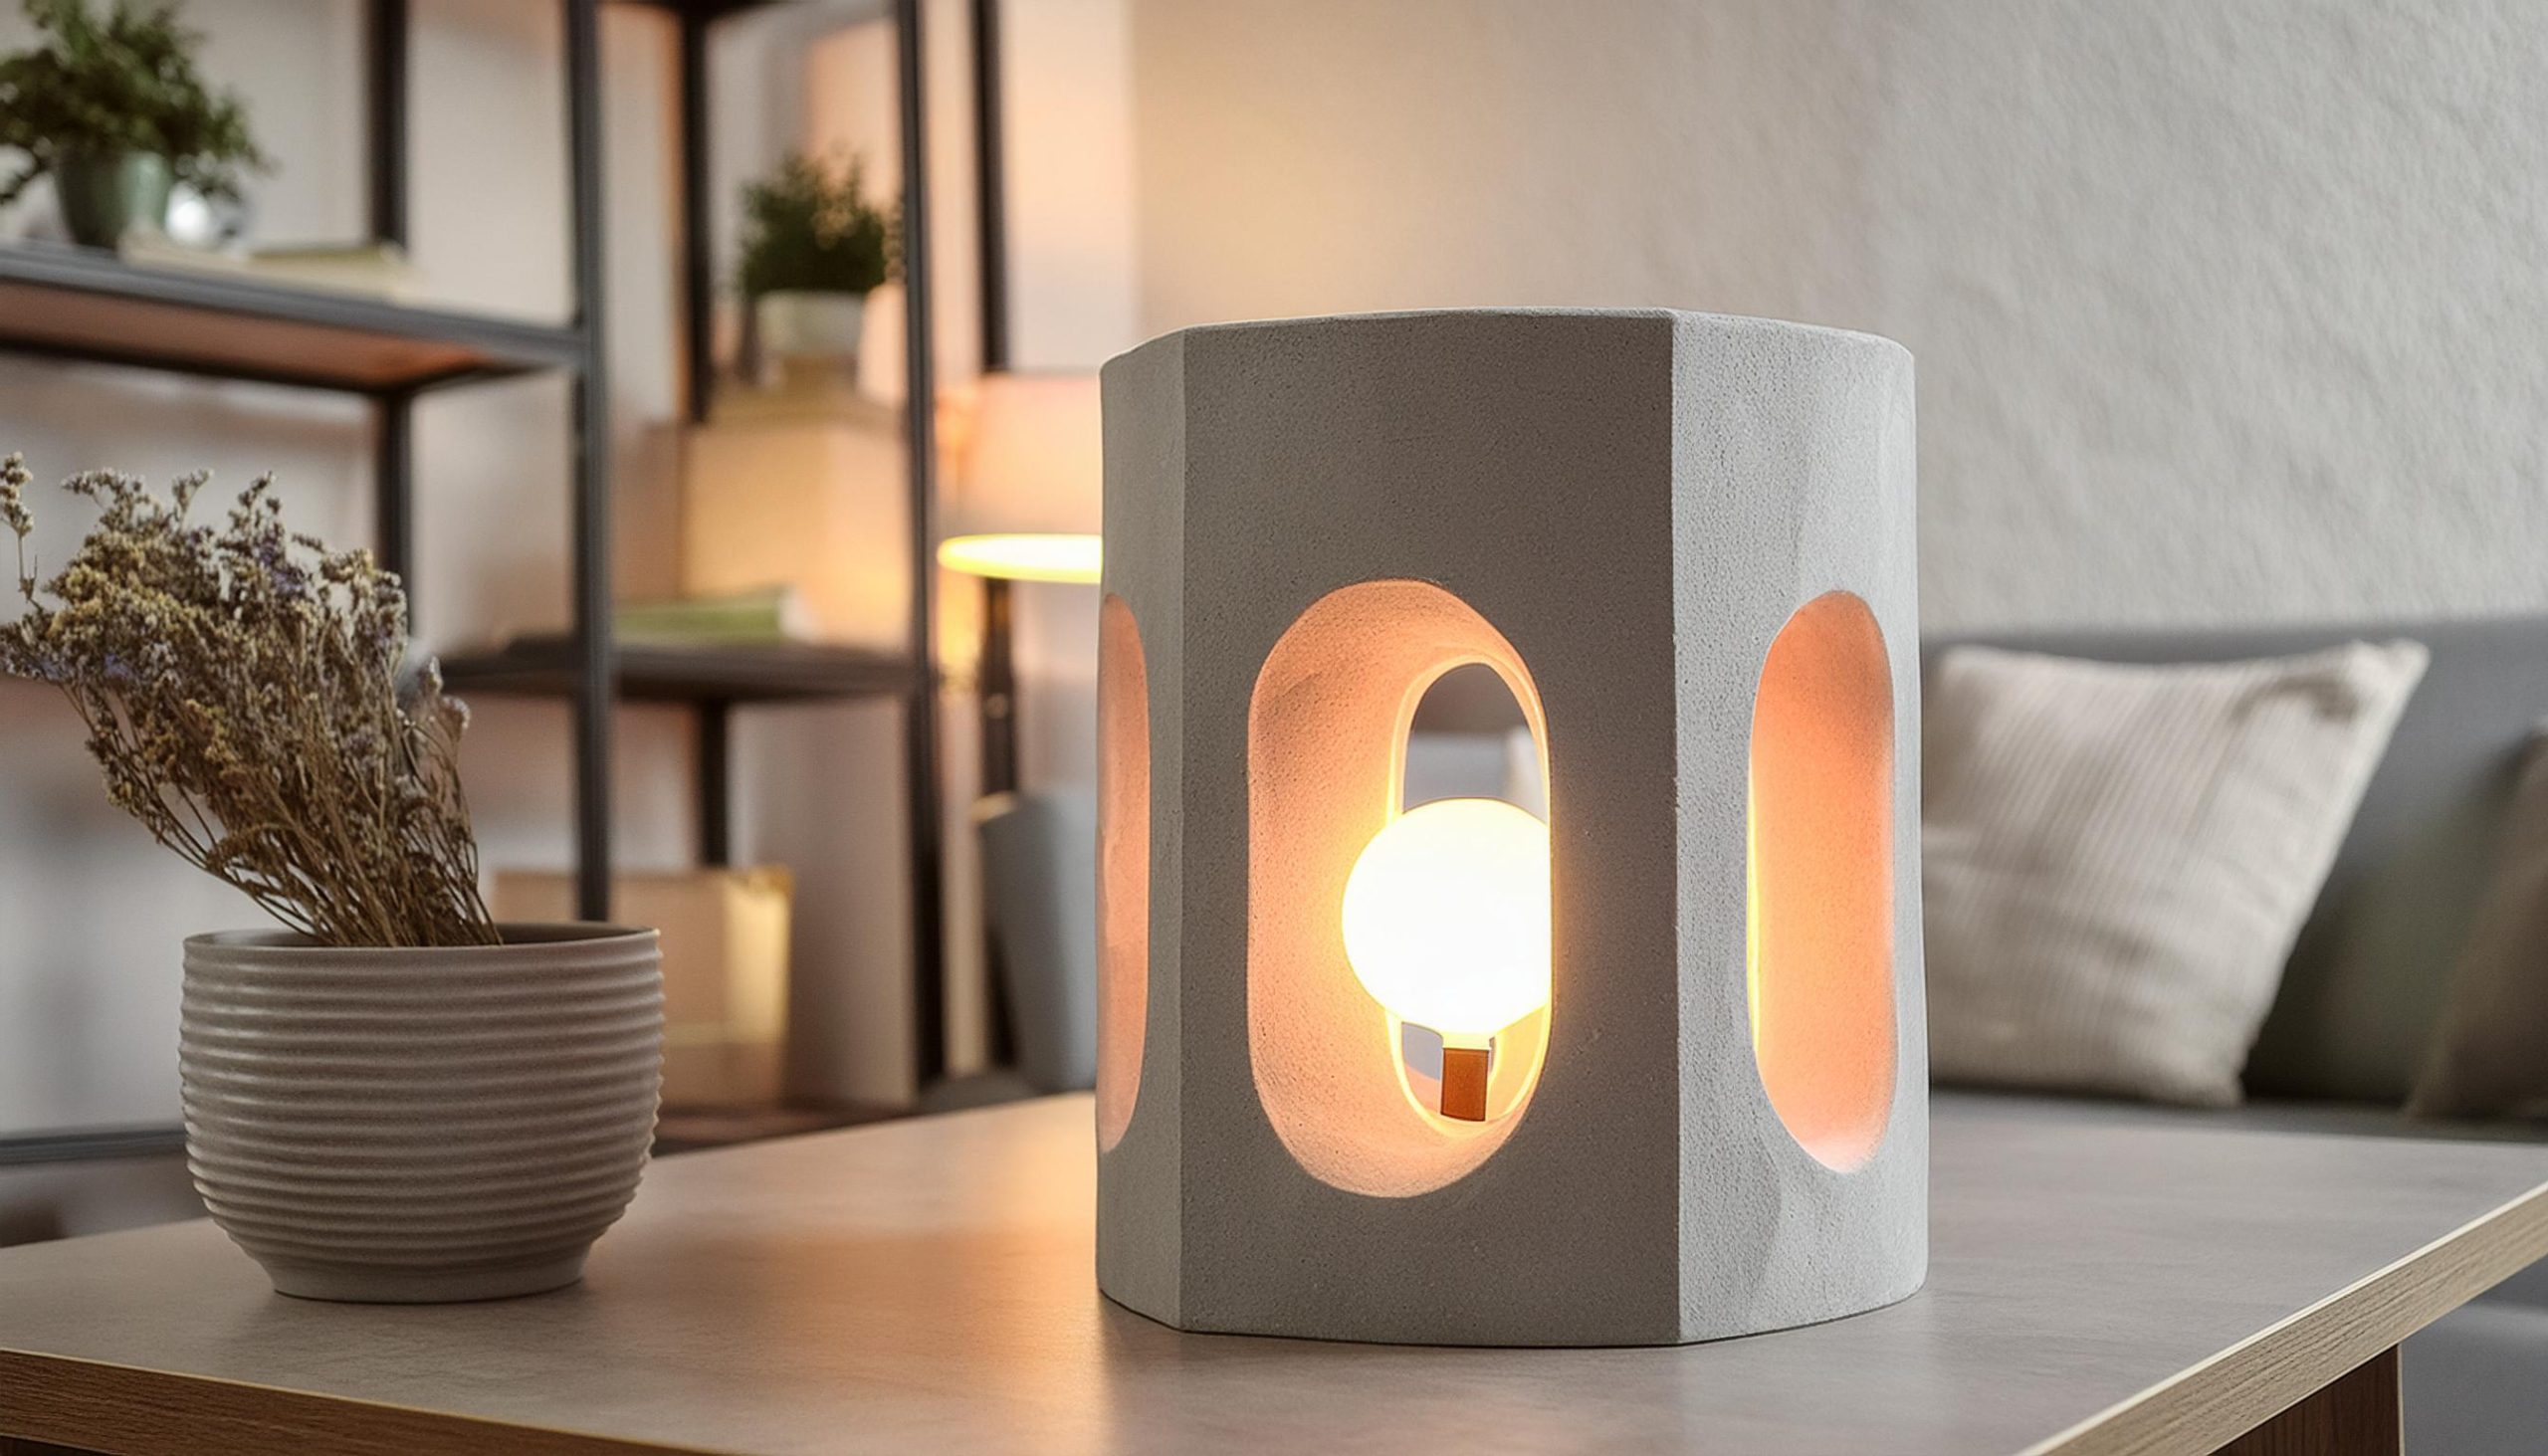
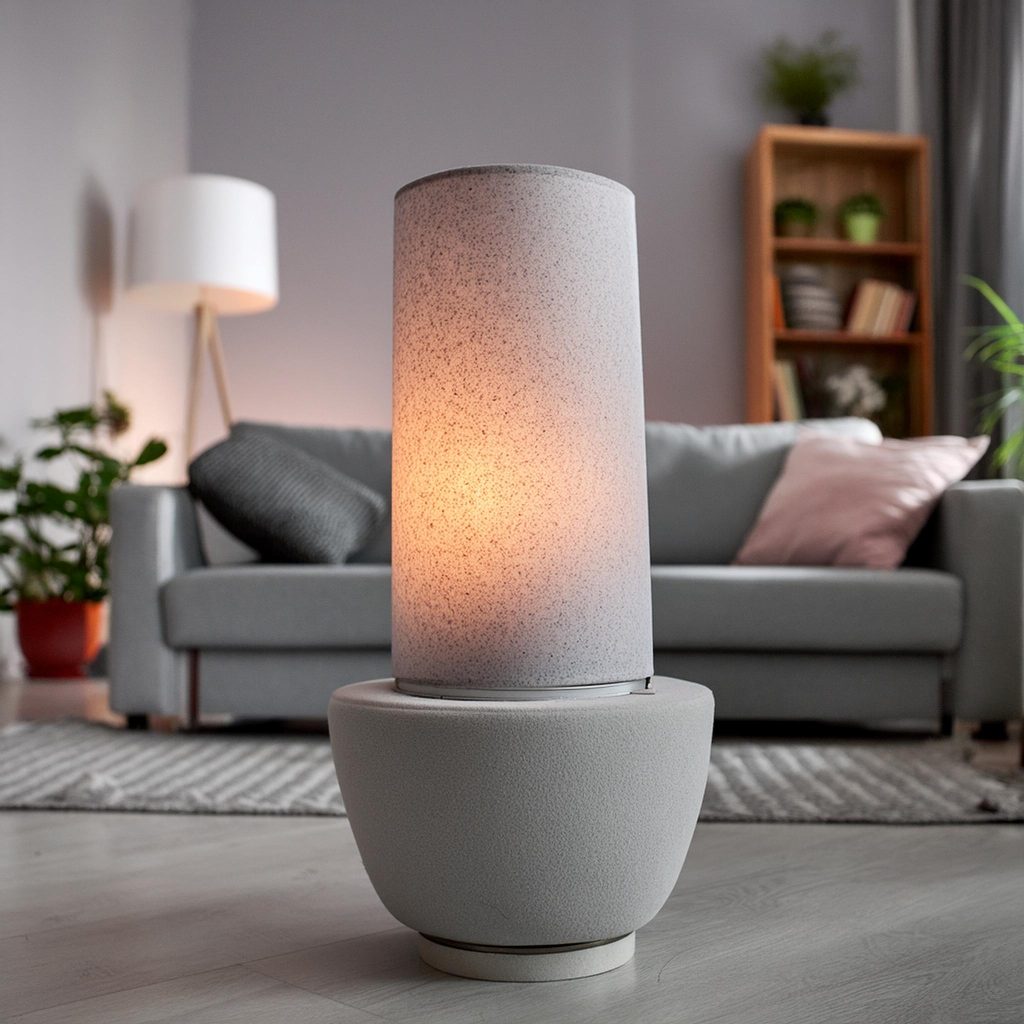
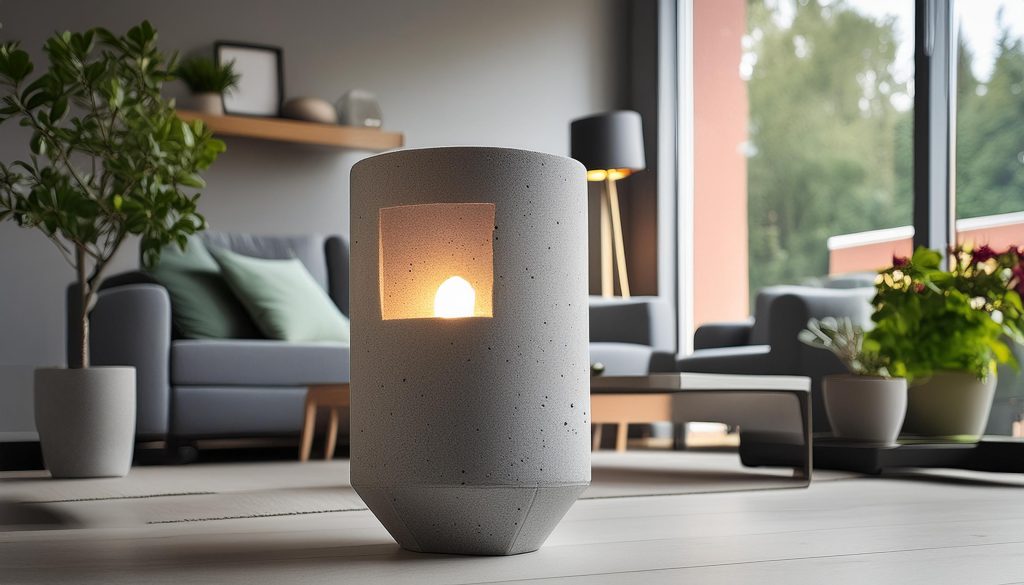
When designing your lamp base, consider the overall aesthetic you want to achieve. Traditional rectangular or cylindrical shapes are classic and versatile, fitting well with various decor styles. For a more modern look, you might opt for geometric shapes like hexagons or pyramids. The size of the lamp base should provide enough stability to support the lamp, but it shouldn’t be so large that it overwhelms the space.
Creating or Purchasing a Mold:
Pre-made molds are available in various shapes and sizes and can save you time. However, if you want a unique design, creating your own mold is a great option. Use materials like wood, plastic, or silicone to make a mold that matches your desired shape. For a custom wood mold, cut pieces to size and assemble them using screws or nails. Ensure the mold is well-sealed to prevent concrete from leaking.
Adding Design Elements:
Consider adding decorative elements to your lamp base design. You can embed small objects like stones, shells, or glass pieces into the surface of the wet concrete to create unique patterns and textures. Additionally, you can use concrete pigment to add color to your lamp base, allowing you to match it with your home decor.
Preparing the Mold
Cleaning and Lubricating: Clean the mold thoroughly to remove any dust or debris. Apply a release agent to the inside surfaces of the mold to make it easier to remove the cured concrete later.
Setting Up the Work Area: Choose a flat, stable surface to set your mold. Cover the area with plastic sheets or old newspapers to catch any spills and protect the ground.
Mixing the Concrete
Mixing Instructions:
- Put on your safety gear, including gloves, glasses, and a dust mask.
- Measure the required amount of lightweight concrete mix according to the manufacturer’s instructions.
- Pour the concrete mix into a mixing bucket or wheelbarrow.
- Gradually add water while stirring with a shovel or hoe until the mixture reaches a thick, workable consistency. If you’re using concrete pigment, add it during this stage and mix thoroughly.
Consistency Check: The concrete should be thick but pourable, similar to the consistency of oatmeal. Avoid adding too much water, as it can weaken the concrete.

Pouring and Setting the Concrete
Filling the Mold:
- Pour the mixed concrete into the prepared mold, filling it evenly.
- Use a trowel or putty knife to spread the concrete and remove any air bubbles. Tap the sides of the mold gently to help settle the concrete.
Inserting the Lamp Kit: If your lamp kit requires it, insert the threaded rod or pipe that will hold the socket into the center of the mold. Make sure it’s straight and secure.
Smoothing the Surface: Smooth the surface of the concrete with the trowel, ensuring an even finish. You can add texture or patterns at this stage if desired.
Setting Time: Allow the concrete to set in the mold for the time recommended by the manufacturer, usually 24 to 48 hours. Keep the mold in a dry, shaded area to prevent premature drying.
Curing the Concrete
Removing the Lamp Base: Once the concrete has set, carefully remove the lamp base from the mold. If it resists, gently tap the sides of the mold or use a rubber mallet to loosen it.
Curing Process: Place the lamp base in a cool, shaded area to cure for at least 7 days. Mist it with water daily to keep it moist, which helps strengthen the concrete.
Final Touches: After curing, you can sand any rough edges or add additional sealant for extra durability and a polished look.
Assembling the Lamp
Drilling the Hole: If you didn’t insert the lamp kit rod during the setting process, use a drill with a masonry bit to create a hole through the center of the base for the cord.
Attaching the Lamp Kit: Follow the instructions that come with your lamp kit to attach the socket, cord, and plug. Make sure all connections are secure and safe.
Adding Felt Pads: Attach felt pads to the bottom of the lamp base to protect your surfaces from scratches and provide a stable base.
Finishing Touches
Painting or Sealing: If desired, you can paint the lamp base or apply a concrete sealer for a polished finish. Use paint suitable for concrete surfaces and follow the manufacturer’s instructions for application.
Adding Decorative Elements: Add any final decorative elements, such as embedded objects or stencils, to personalize your lamp base.

Frequently Asked Questions
1. Can I use any type of concrete for my lamp base? Answer: It’s best to use lightweight concrete for this project, as it provides the necessary durability without making the lamp base too heavy to handle.
2. How do I ensure my lamp base is stable? Answer: Ensure your lamp base is wide enough to support the height of the lamp. Additionally, using felt pads on the bottom can help stabilize the base and protect surfaces.
3. Can I customize the color of my lamp base? Answer: Yes, you can add concrete pigment to the mix to create a base in your desired color, or paint the finished base with concrete-friendly paint.
Conclusion
Crafting a lightweight concrete lamp base is a creative and rewarding DIY project that combines practical functionality with modern design. By following this guide, you can create a unique lamp base that adds a stylish touch to any room in your home. Lightweight concrete offers the perfect balance of strength and manageability, making it an ideal material for this project.
Enjoy the process of designing, crafting, and finishing your lamp base, and take pride in the personalized piece you’ve created. This project not only enhances your DIY skills but also provides a beautiful, custom-made addition to your home decor. Whether you’re looking to brighten up your living room, bedroom, or office, a handcrafted concrete lamp base is sure to make a stunning statement.

