Introduction
Creating lightweight concrete path stones for your garden is not just a practical project but also an artistic endeavor that allows you to put your personal stamp on your outdoor space. Lightweight concrete is an ideal material for garden path stones due to its durability, ease of handling, and versatility in design. Whether you’re aiming for a modern, minimalist look or a more rustic, natural aesthetic, lightweight concrete path stones can be customized to fit any garden style.
This DIY project is accessible for both seasoned enthusiasts and beginners, offering a rewarding experience that combines creativity, craftsmanship, and functionality. In this comprehensive guide, we’ll walk you through every step of the process, from gathering materials to installing your finished path stones. By the end, you’ll have a beautiful, durable garden path that not only enhances the visual appeal of your garden but also provides practical benefits for years to come. So, roll up your sleeves, gather your materials, and let’s embark on this exciting journey to transform your garden paths with lightweight concrete stones.
Materials and Tools Needed
Materials:
- Lightweight concrete mix (available at home improvement stores)
- Water
- Concrete pigment (optional, for coloring)
- Release agent (such as cooking spray or specialized mold release spray)
Tools:
- Mixing bucket or wheelbarrow
- Shovel or hoe for mixing
- Measuring cup
- Molds (pre-made or DIY from wood, plastic, or silicone)
- Trowel or putty knife
- Rubber gloves
- Safety glasses
- Dust mask
Designing Your Path Stones
Designing your path stones is one of the most enjoyable aspects of this project, allowing you to infuse your personal style into your garden. The design phase involves several steps, from selecting the shapes and sizes of the stones to planning their layout within your garden.
Choosing Shapes and Sizes:
The first step in designing your path stones is deciding on their shapes and sizes. Traditional rectangular or square stones offer a classic and clean look that can complement a variety of garden styles. These shapes are straightforward to create and can be easily aligned to form a neat pathway. On the other hand, more organic shapes like irregular polygons, circles, or custom designs can give your garden a unique and artistic flair. These shapes can create a more natural and whimsical pathway, blending seamlessly with the surrounding landscape.
When selecting the size of your path stones, consider the scale of your garden and the intended use of the path. Larger stones are ideal for main pathways that receive heavy foot traffic, as they provide a stable and expansive surface. Smaller stones, on the other hand, can be used to create intricate designs or fill in gaps between larger stones, adding detail and texture to the path.
Creating or Purchasing Molds:
Once you have decided on the shapes and sizes of your path stones, the next step is to obtain or create molds. Pre-made molds are available in various shapes and sizes and can save you time and effort. These molds are typically made from durable plastic or silicone and are designed to be reused multiple times.
If you prefer a more customized approach, you can create your own molds using materials like wood, plastic, or silicone. For wooden molds, use sturdy, water-resistant wood such as plywood or MDF. Cut the wood into the desired shapes and assemble them using screws or nails to form a box-like mold. Ensure that the joints are well-sealed to prevent concrete from leaking out. Silicone molds are more flexible and can capture intricate details, making them ideal for more complex shapes. To make a silicone mold, create a model of the desired shape using clay or another material, then apply silicone over the model to create the mold.
Planning the Layout:
With your molds ready, the next step is to plan the layout of your path stones within your garden. Start by sketching a layout on paper, considering the existing features of your garden, such as flower beds, trees, and other landscaping elements. Decide on the direction and flow of the path, ensuring it provides a logical and convenient route through your garden.
Consider the spacing between the stones, as this will affect both the aesthetics and functionality of the path. Uniform spacing can create a clean and organized look, while irregular spacing can give the path a more natural and organic appearance. When planning the layout, also think about how the path stones will integrate with the surrounding landscape. You may want to leave spaces between the stones for grass or ground cover plants to grow, creating a seamless blend between the path and the garden.
Adding Personal Touches:
This is also the stage where you can think about adding personal touches to your path stones. Consider incorporating decorative elements such as embedded pebbles, glass beads, or mosaic tiles into the surface of the stones. These embellishments can add color, texture, and visual interest to your path, making it truly unique.
You can also experiment with different finishes for your path stones. For a smooth, polished look, use a trowel to level the surface of the wet concrete. For a more rustic, textured finish, try pressing leaves, shells, or other natural objects into the surface before the concrete sets. Removing these objects once the concrete is dry will leave behind interesting patterns and textures.
Designing your path stones is a creative and enjoyable process that allows you to tailor the project to your personal taste and the specific needs of your garden. By carefully considering the shapes, sizes, and layout of your stones, you can create a beautiful and functional path that enhances the overall aesthetic of your outdoor space.
Preparing the Mold
Cleaning and Lubricating: Clean the molds thoroughly to remove any dust or debris. Apply a release agent to the inside surfaces of the molds to make it easier to remove the cured concrete stones later.
Setting Up the Work Area: Choose a flat, stable surface to set your molds. Make sure the area is covered with plastic sheets or old newspapers to catch any spills and protect the ground.
Mixing the Concrete
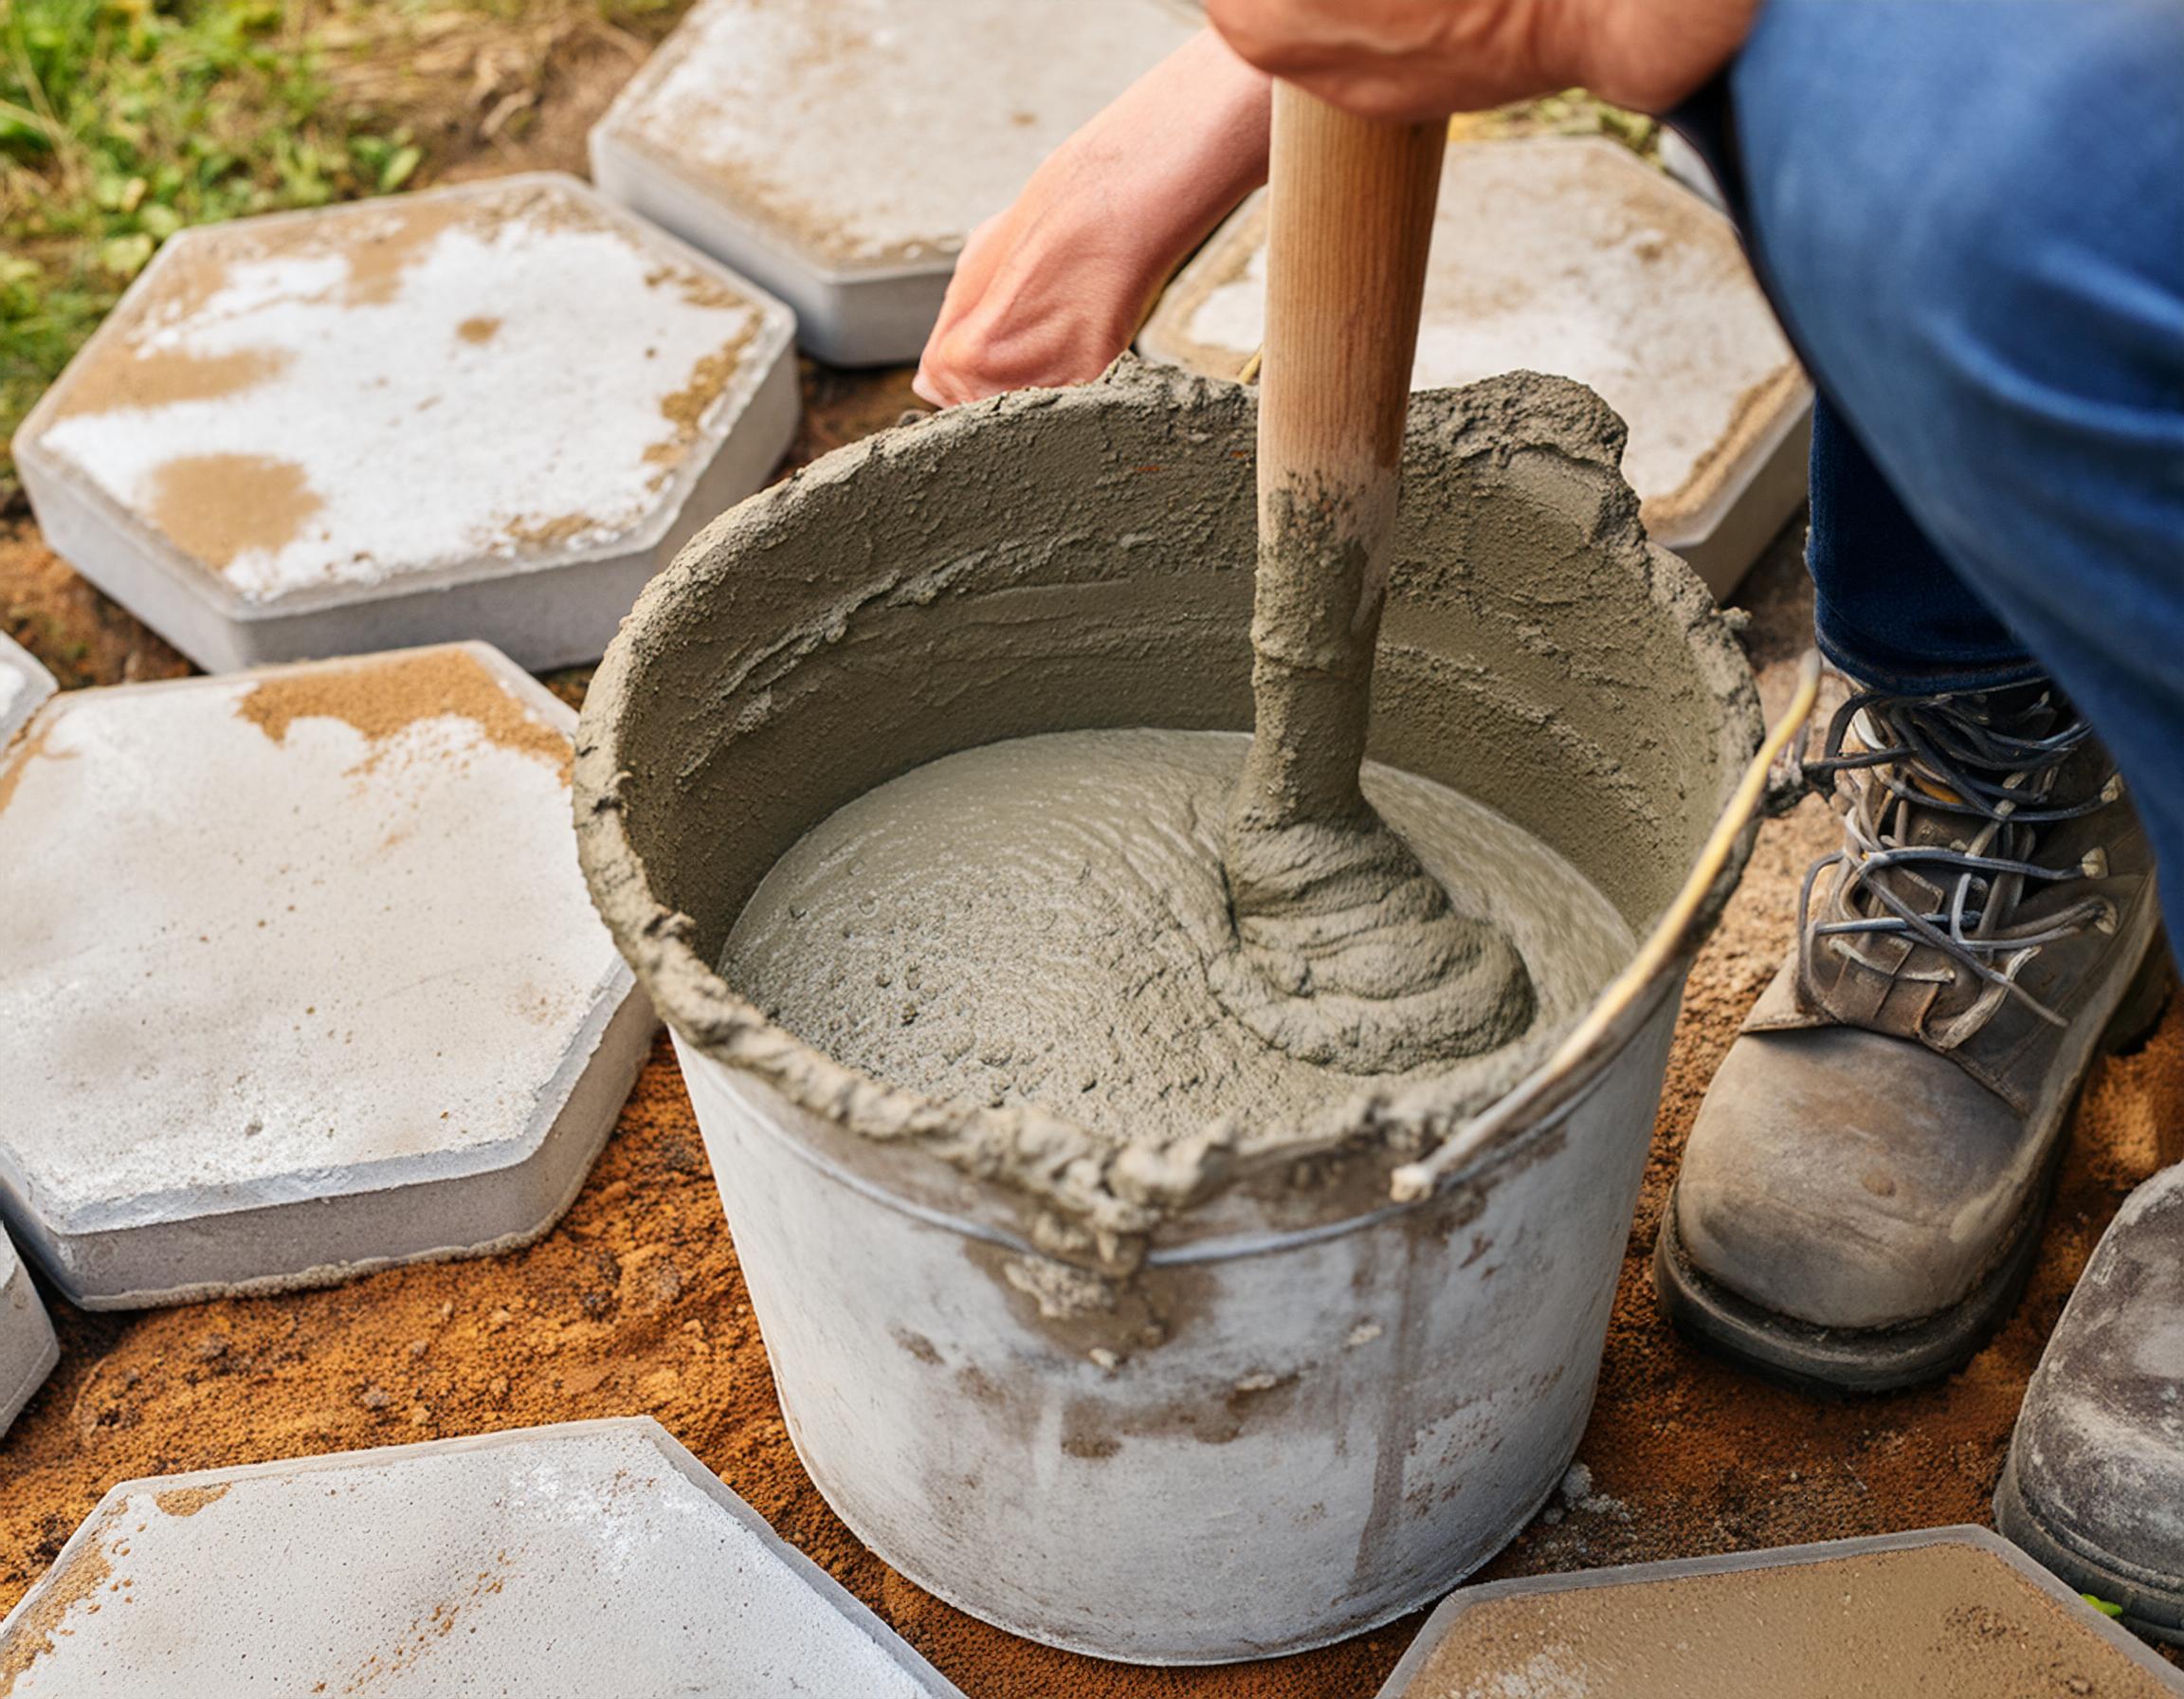
Mixing Instructions:
- Put on your safety gear, including gloves, glasses, and a dust mask.
- Measure the required amount of lightweight concrete mix according to the manufacturer’s instructions.
- Pour the concrete mix into a mixing bucket or wheelbarrow.
- Gradually add water while stirring with a shovel or hoe until the mixture reaches a thick, workable consistency. If you’re using concrete pigment, add it during this stage and mix thoroughly.
Consistency Check: The concrete should be thick but pourable, similar to the consistency of oatmeal. Avoid adding too much water, as it can weaken the concrete.

Pouring and Setting the Concrete
Filling the Molds:
- Pour the mixed concrete into the prepared molds, filling them evenly.
- Use a trowel or putty knife to spread the concrete and remove any air bubbles. Tap the sides of the molds gently to help settle the concrete.
Smoothing the Surface: Smooth the surface of the concrete with the trowel, ensuring an even finish. You can add texture or patterns at this stage if desired.
Setting Time: Allow the concrete to set in the molds for the time recommended by the manufacturer, usually 24 to 48 hours. Keep the molds in a dry, shaded area to prevent premature drying.
Curing the Concrete
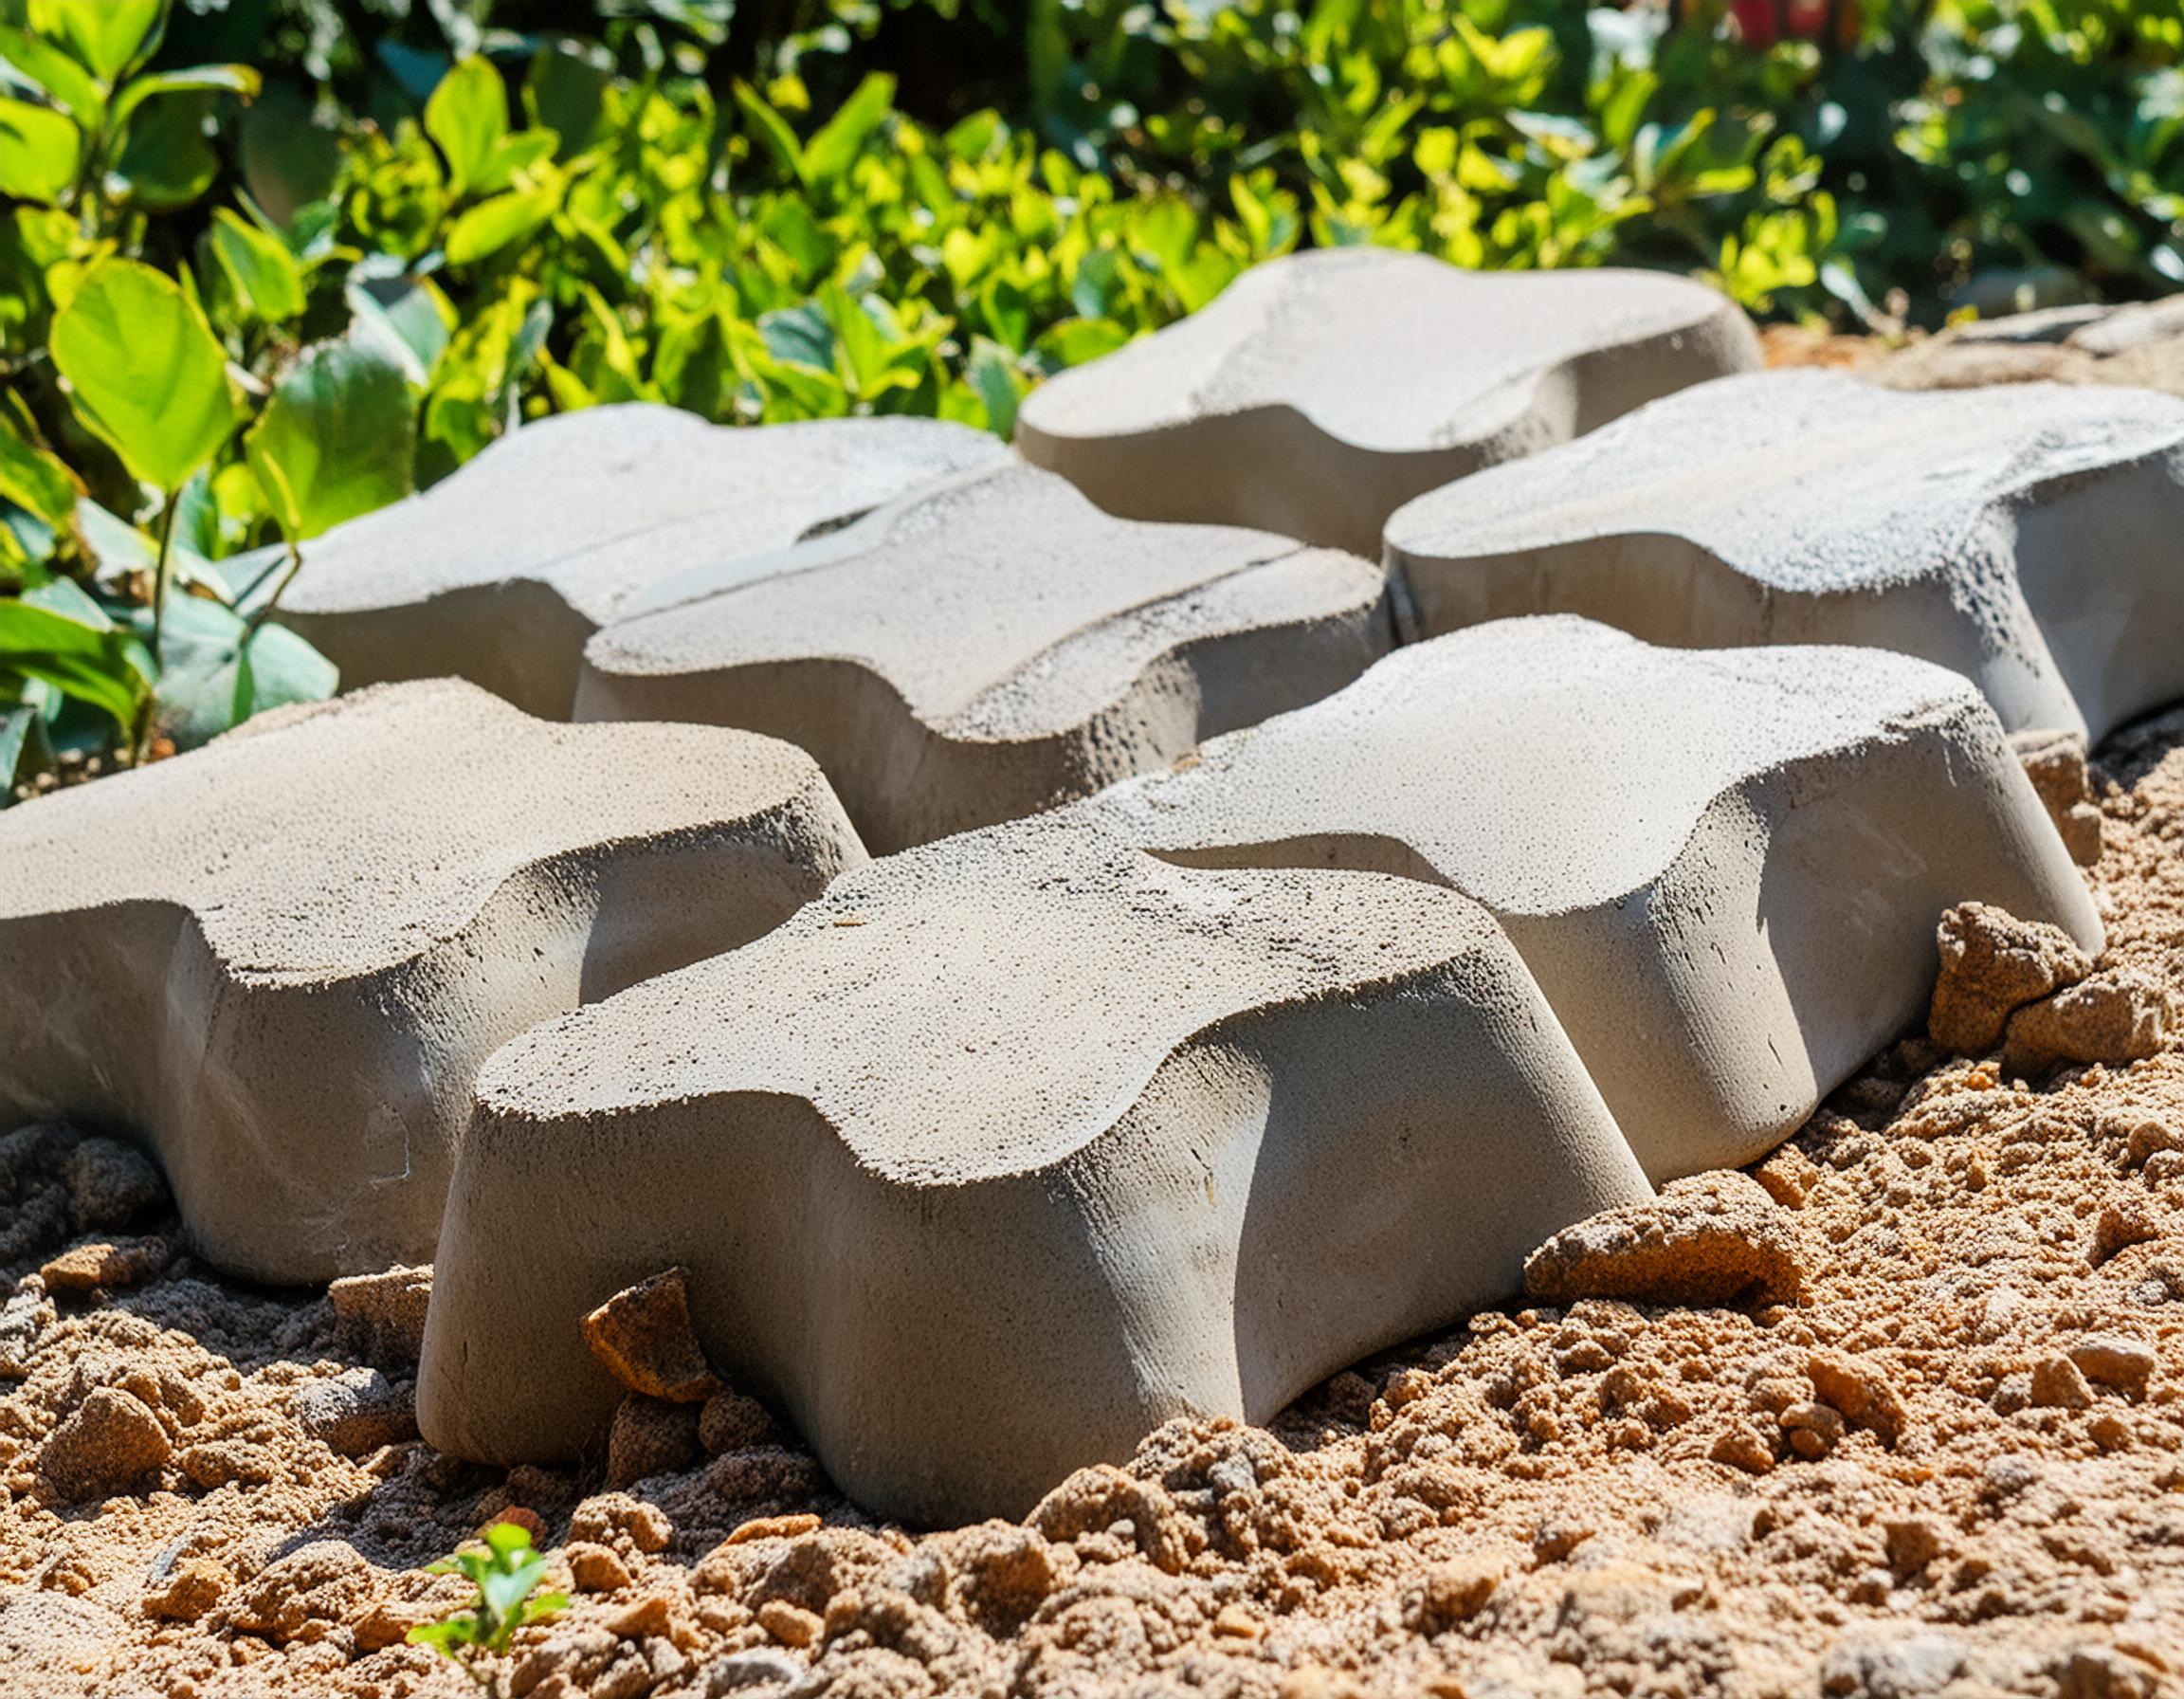
Removing the Stones: Once the concrete has set, carefully remove the stones from the molds. If they resist, gently tap the sides of the molds or use a rubber mallet to loosen them.
Curing Process: Place the stones in a cool, shaded area to cure for at least 7 days. Mist them with water daily to keep them moist, which helps strengthen the concrete.
Final Touches: After curing, you can sand any rough edges or add additional sealant for extra durability and a polished look.

Installing the Path Stones
Preparing the Ground:
- Clear the path area of any debris, rocks, or plants.
- Level the ground and create a base layer of sand or gravel to help with drainage.
Placing the Stones:
- Lay out the stones according to your planned design.
- Press each stone firmly into the ground, ensuring they are level and stable.
Finishing Touches: Fill any gaps between the stones with sand, gravel, or soil to secure them in place and create a seamless look.
Frequently Asked Questions
1. Can I use lightweight concrete for all garden paths?
Answer: Yes, lightweight concrete is versatile and suitable for various garden paths. It provides strength and durability while being easier to handle and install.
2. How do I maintain my lightweight concrete path stones?
Answer: Maintenance is simple. Regularly sweep the stones to remove debris and occasionally hose them down with water to keep them clean. Reapply sealant if necessary to protect the surface.
3. Can I customize the color of my path stones?
Answer: Absolutely! You can add concrete pigment to the mix to create stones in various colors that complement your garden design.
Conclusion
Crafting lightweight concrete path stones for your garden is a fulfilling DIY project that enhances the beauty and functionality of your outdoor space. With a bit of creativity and effort, you can design and create unique, durable path stones that will transform your garden into a stunning and inviting environment. Enjoy the process, and relish the satisfaction of walking along the paths you’ve built with your own hands.

